
When we moved in to our house, it’s fair to say there was a utility room, of sorts. I’d never had one before, so the prospect of not having the washing machine juddering away in the kitchen while I was whipping up Michelin starred delights for the family (ahem) was an exciting one. Another step towards actual adulthood! It was, however, a weird old space and, not to put too fine a point on it, an absolute grot-fest.
It was a rundown, ramshackle sort of lean-to, attached to the side of the house, accessed via the kitchen and also serving as the back entrance to the house. It was mostly made of glass, ensuring it was sauna-like in the summer, and absolutely baltic in the winter, which was also a problem, as our only downstairs WC was in there. Absolutely no-one wanted to use that WC. The walls were mint green and mouldy, the pipework ran along the walls and was covered in an ancient insulation foam, which was filthy and mouldy, and spiders lived there. Many, many spiders. Very webby. It may have been an offshoot of the kitchen, but it was effectively an outside privy, only used when desperate or drunk (the nearest available alternative toilet was a lengthy dash up two flights of stairs – there is a point after a few glasses of Sauv Blanc where your standards, and enthusiasm for climbing stairs, slide).
There was space for the washer and tumble dryer, which is undeniably useful, but that was about it. The remaining space was filled with things which didn’t have a home, piled on top of each other, and so it remained until we did the Big Building Project of 2019. Prior to starting the work, I did a tour of the house for Instagram purposes, and I’ve pulled out the section on the old utility room, so you can see the situation for yourself. I’d forgotten about the plants growing through the ceiling until I watched it back. I was an early adopter of biophilic design.
As I say in the video, it was universally agreed by all of the builders who came round to quote that the whole thing needed to be knocked down and rebuilt. So that’s what we did. I was entirely unsurprised to find the existing structure had no proper foundations and, just for additional larks, had been illegally built over a water pipe, causing much involvement of the Council and many strokey chin meetings. At one point it looked like we might not be able to have a utility room there at all which, of course, I took stoically and without complaint ?. However, the lovely builder and the actually quite reasonable Council came up with some sort of agreement and all was ok once more. Utility a-go-go. Here are some pics which show the foundation work which is actually necessary when building a new structure, as opposed to whoever built the last one simply piling a few bricks on the ground in a square shape.
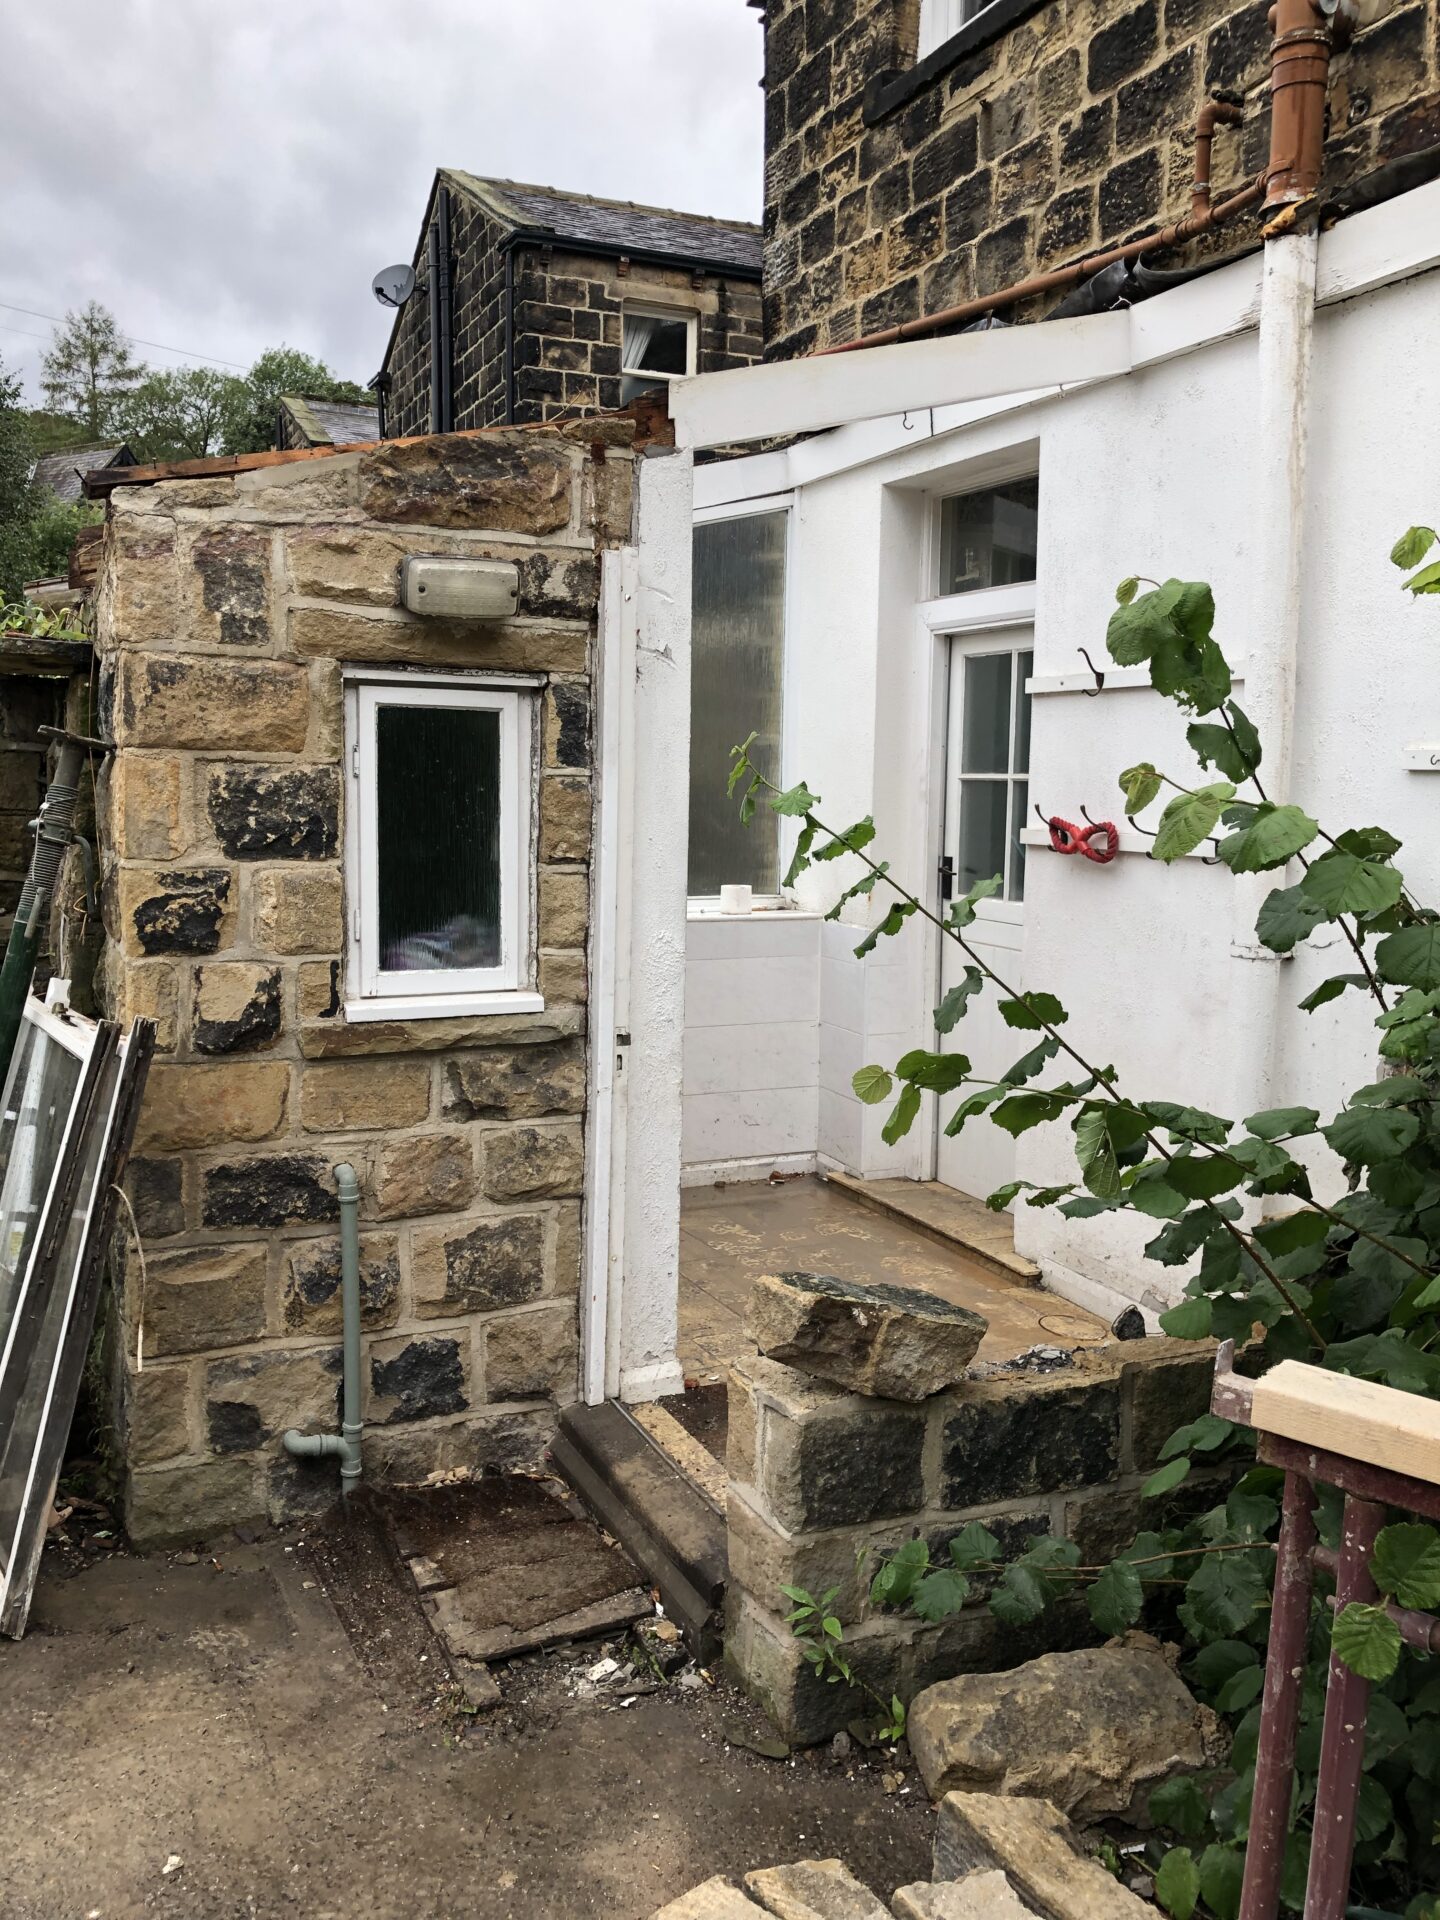
The old building, with glass removed 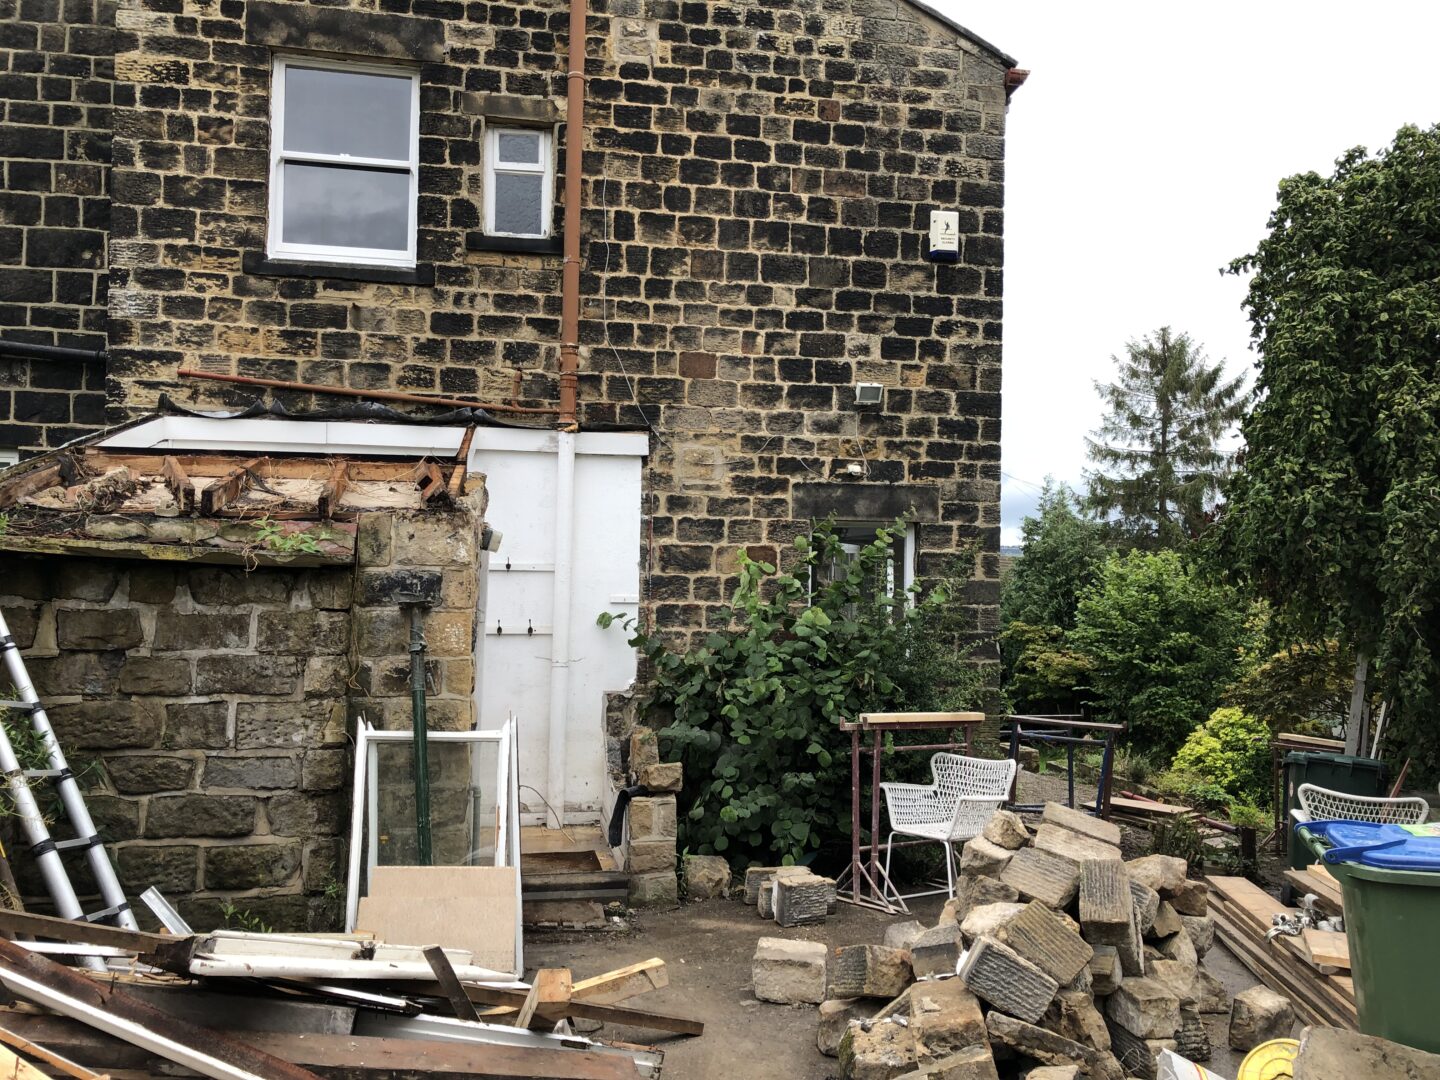
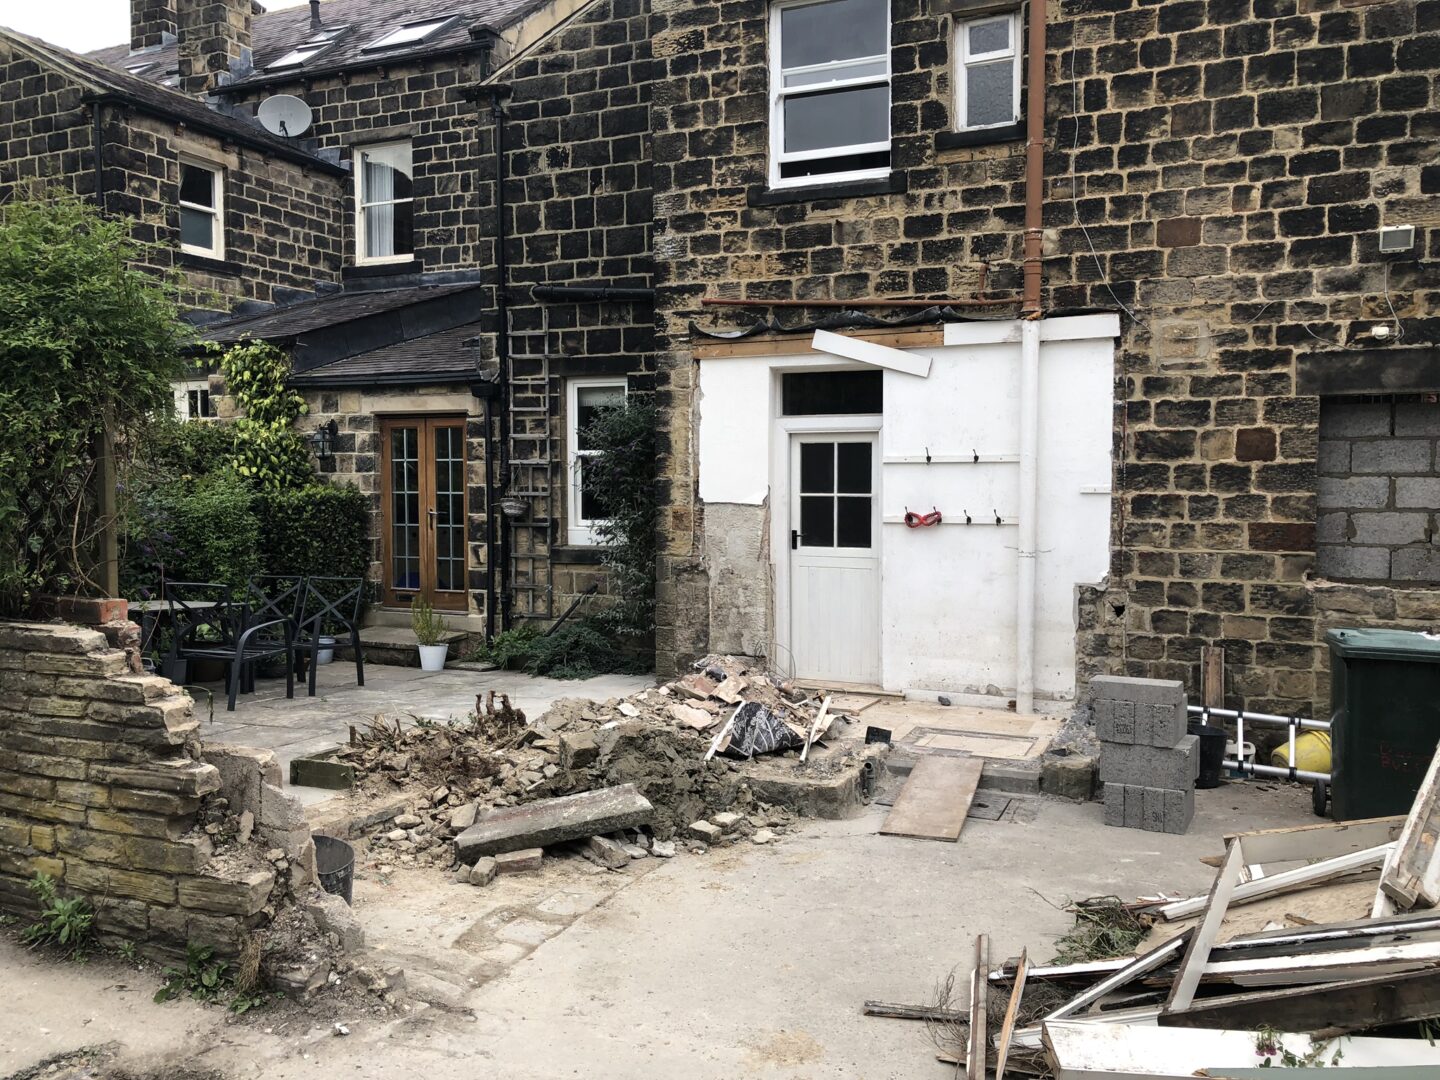
Gone. Huzzah! 
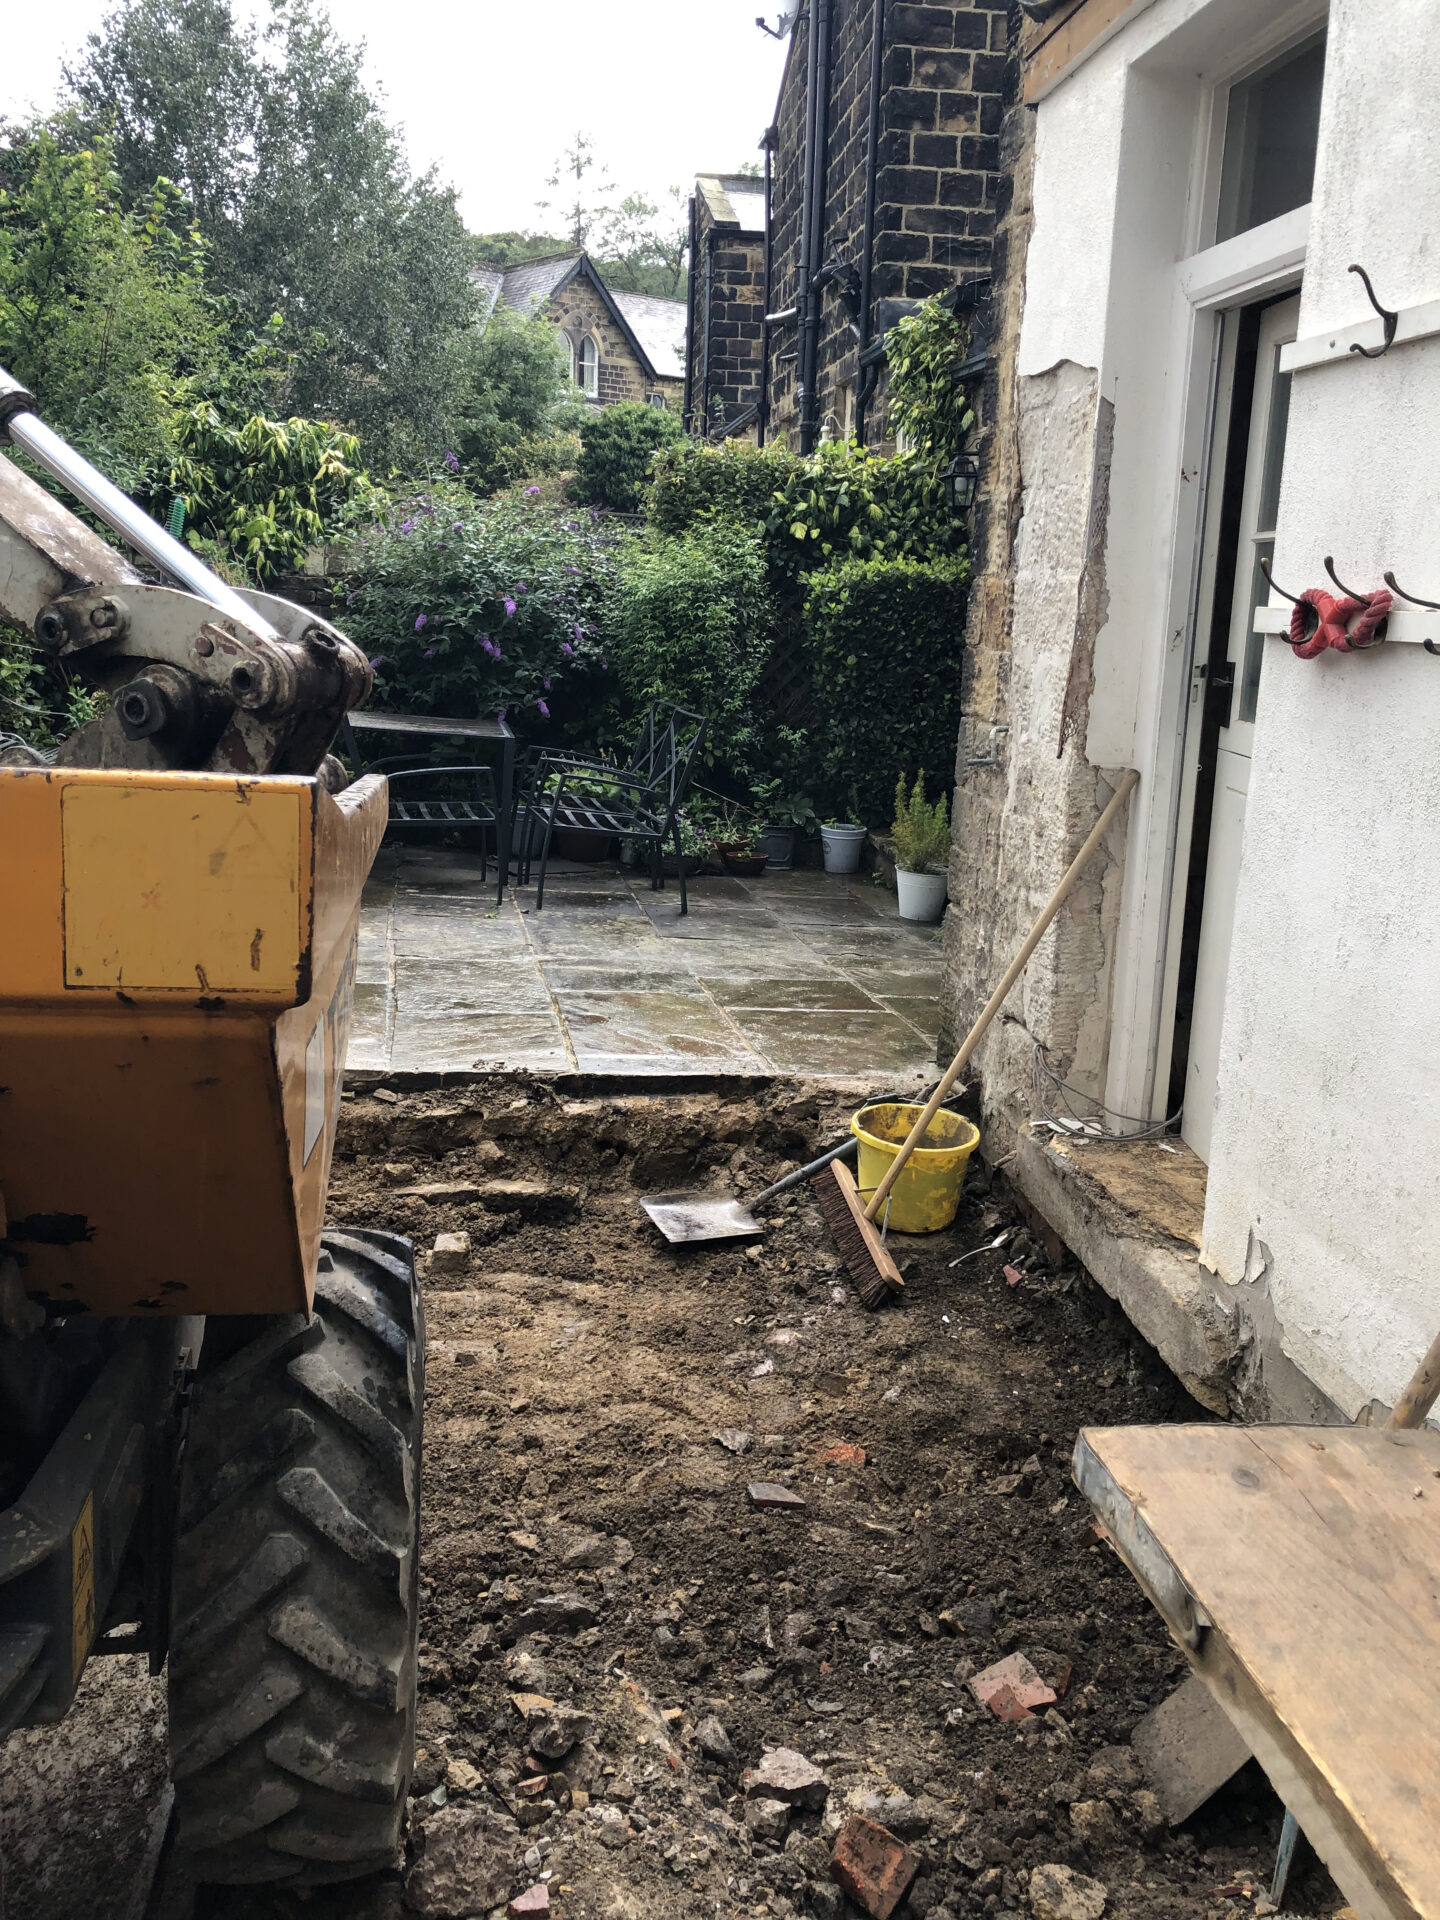
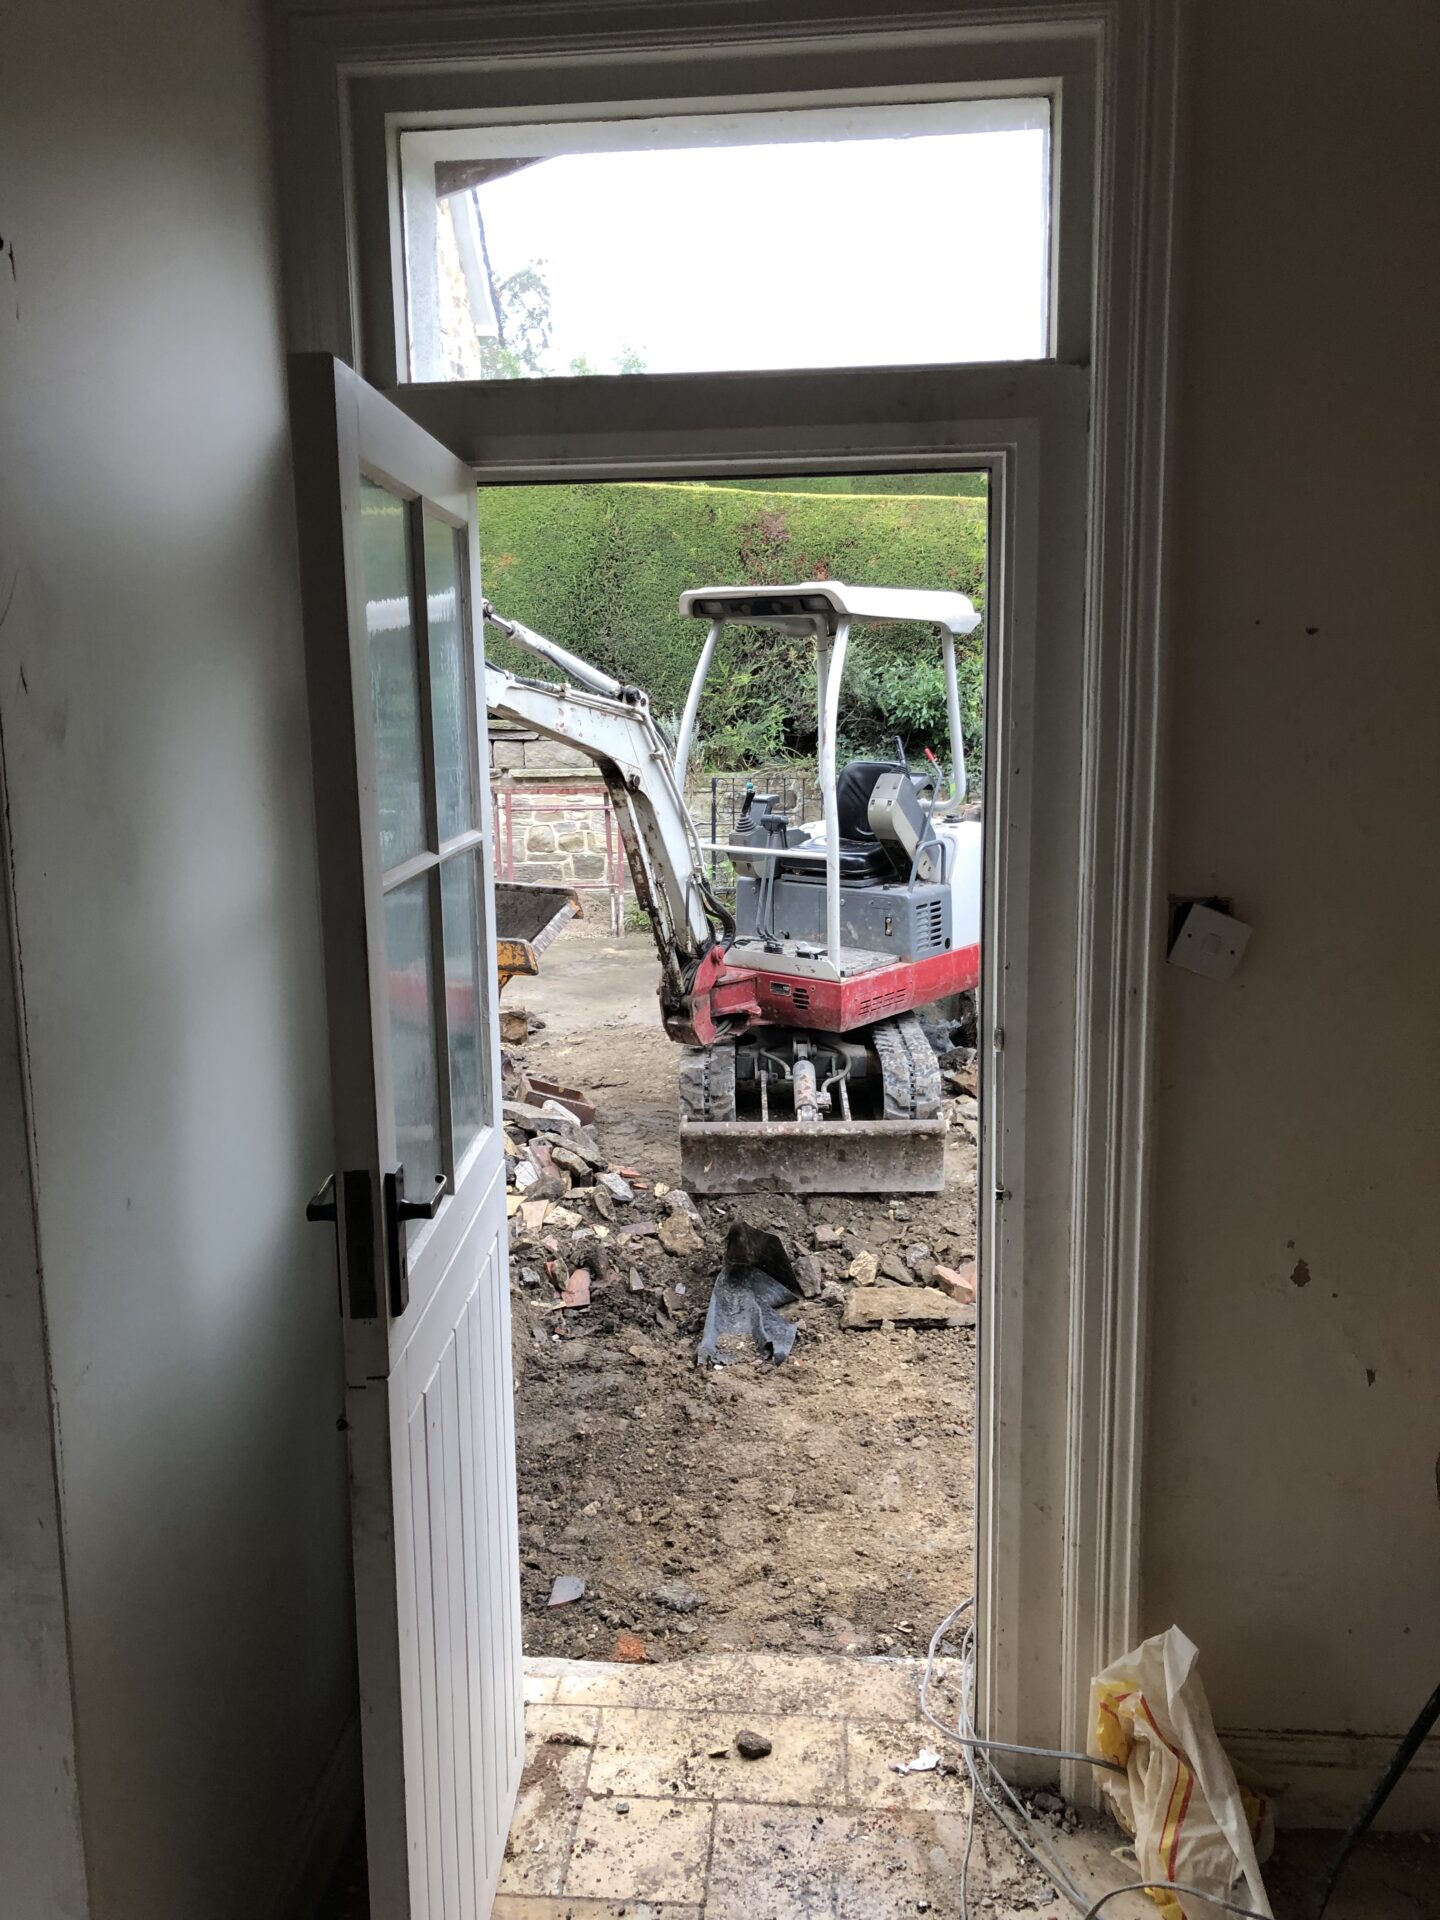
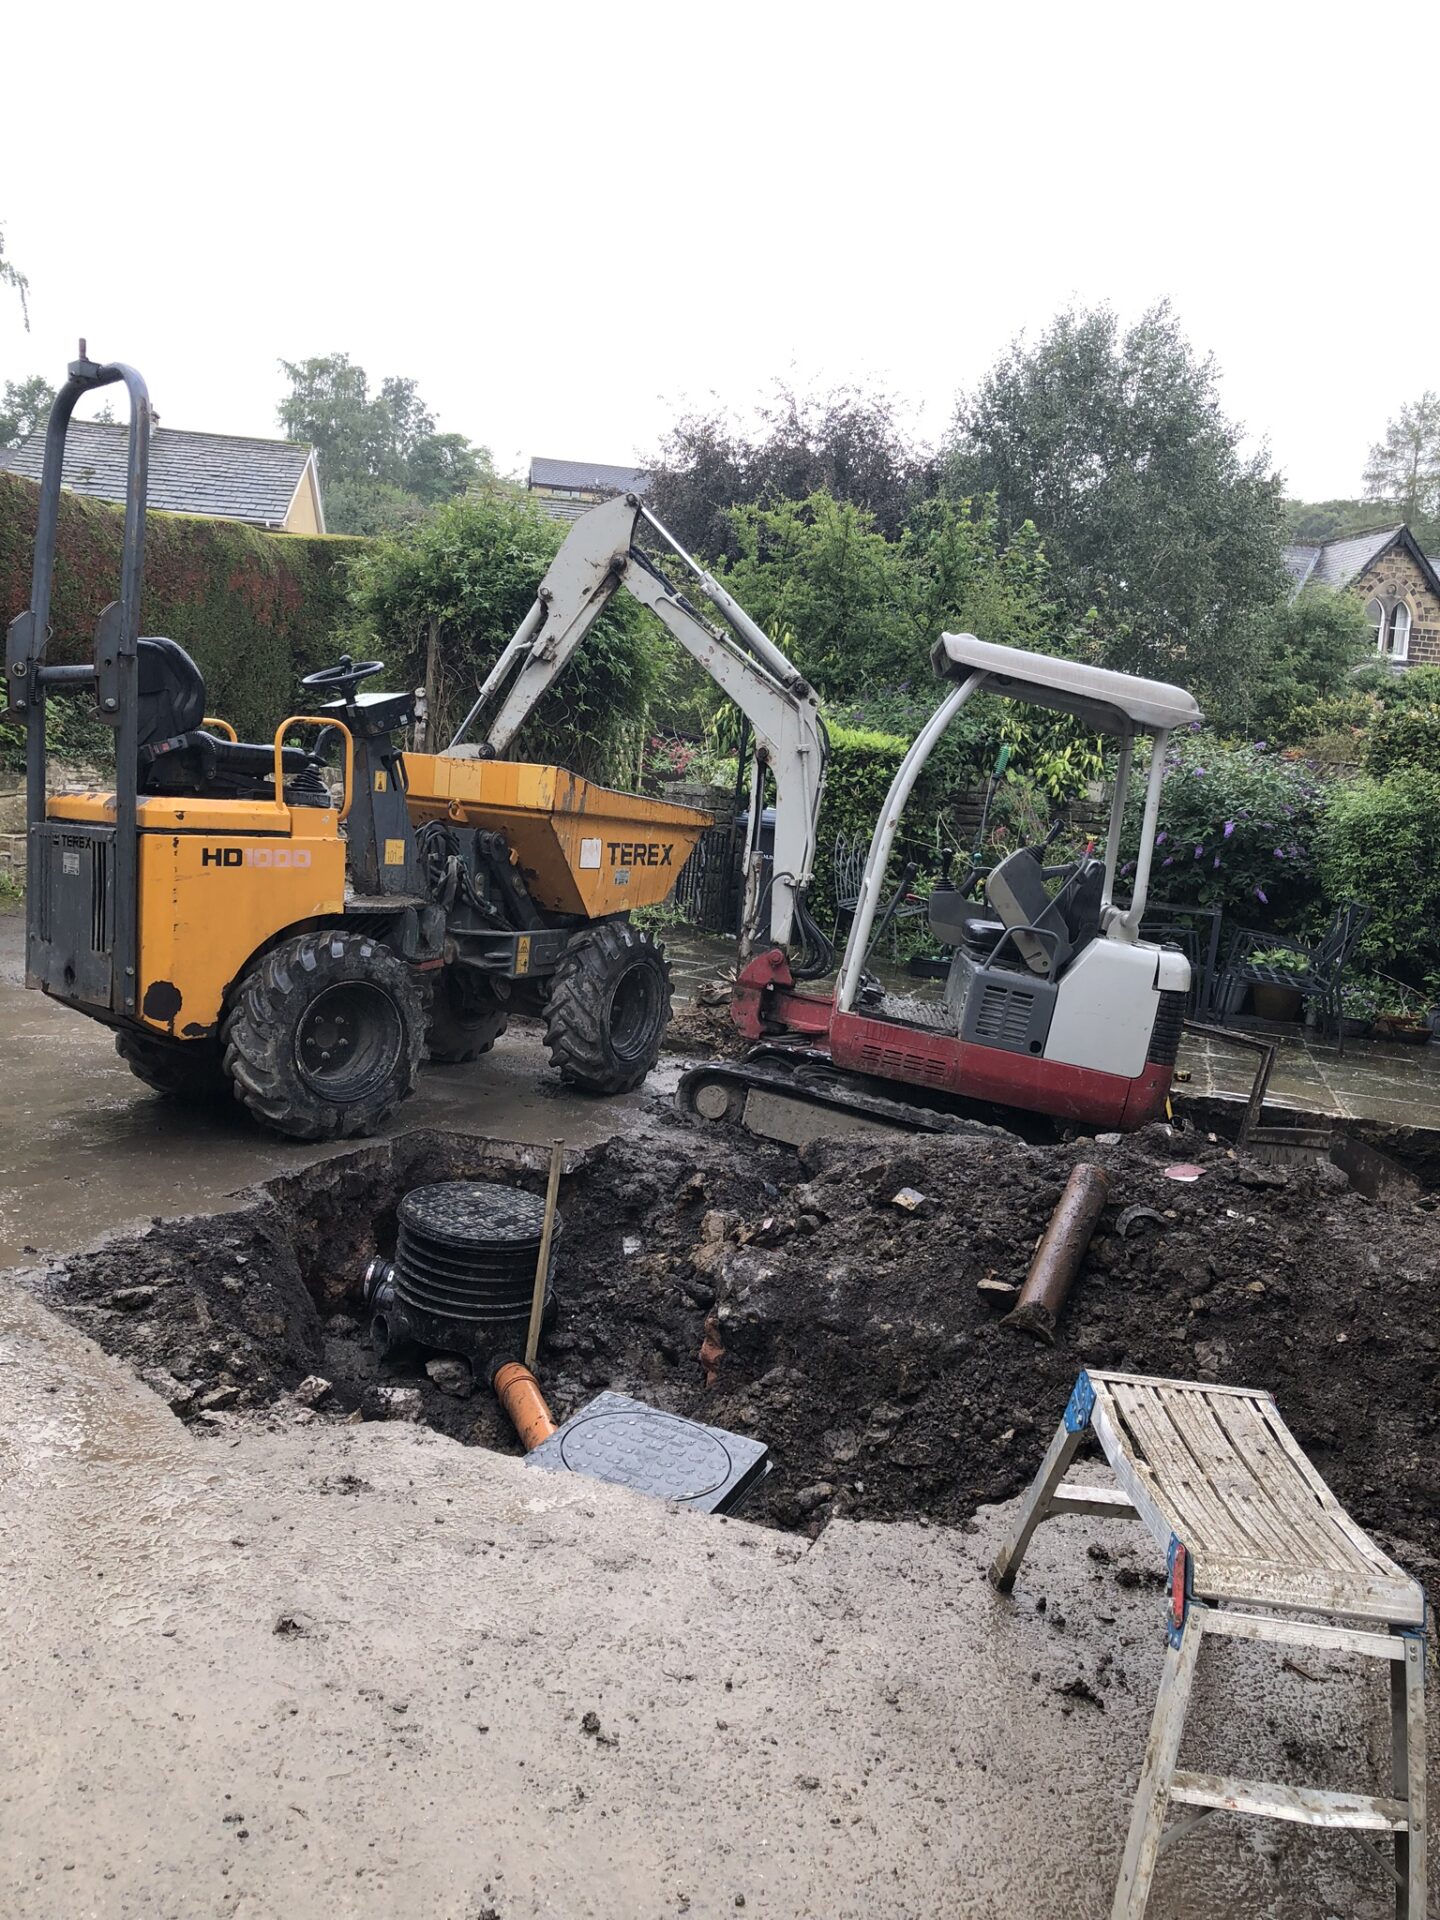
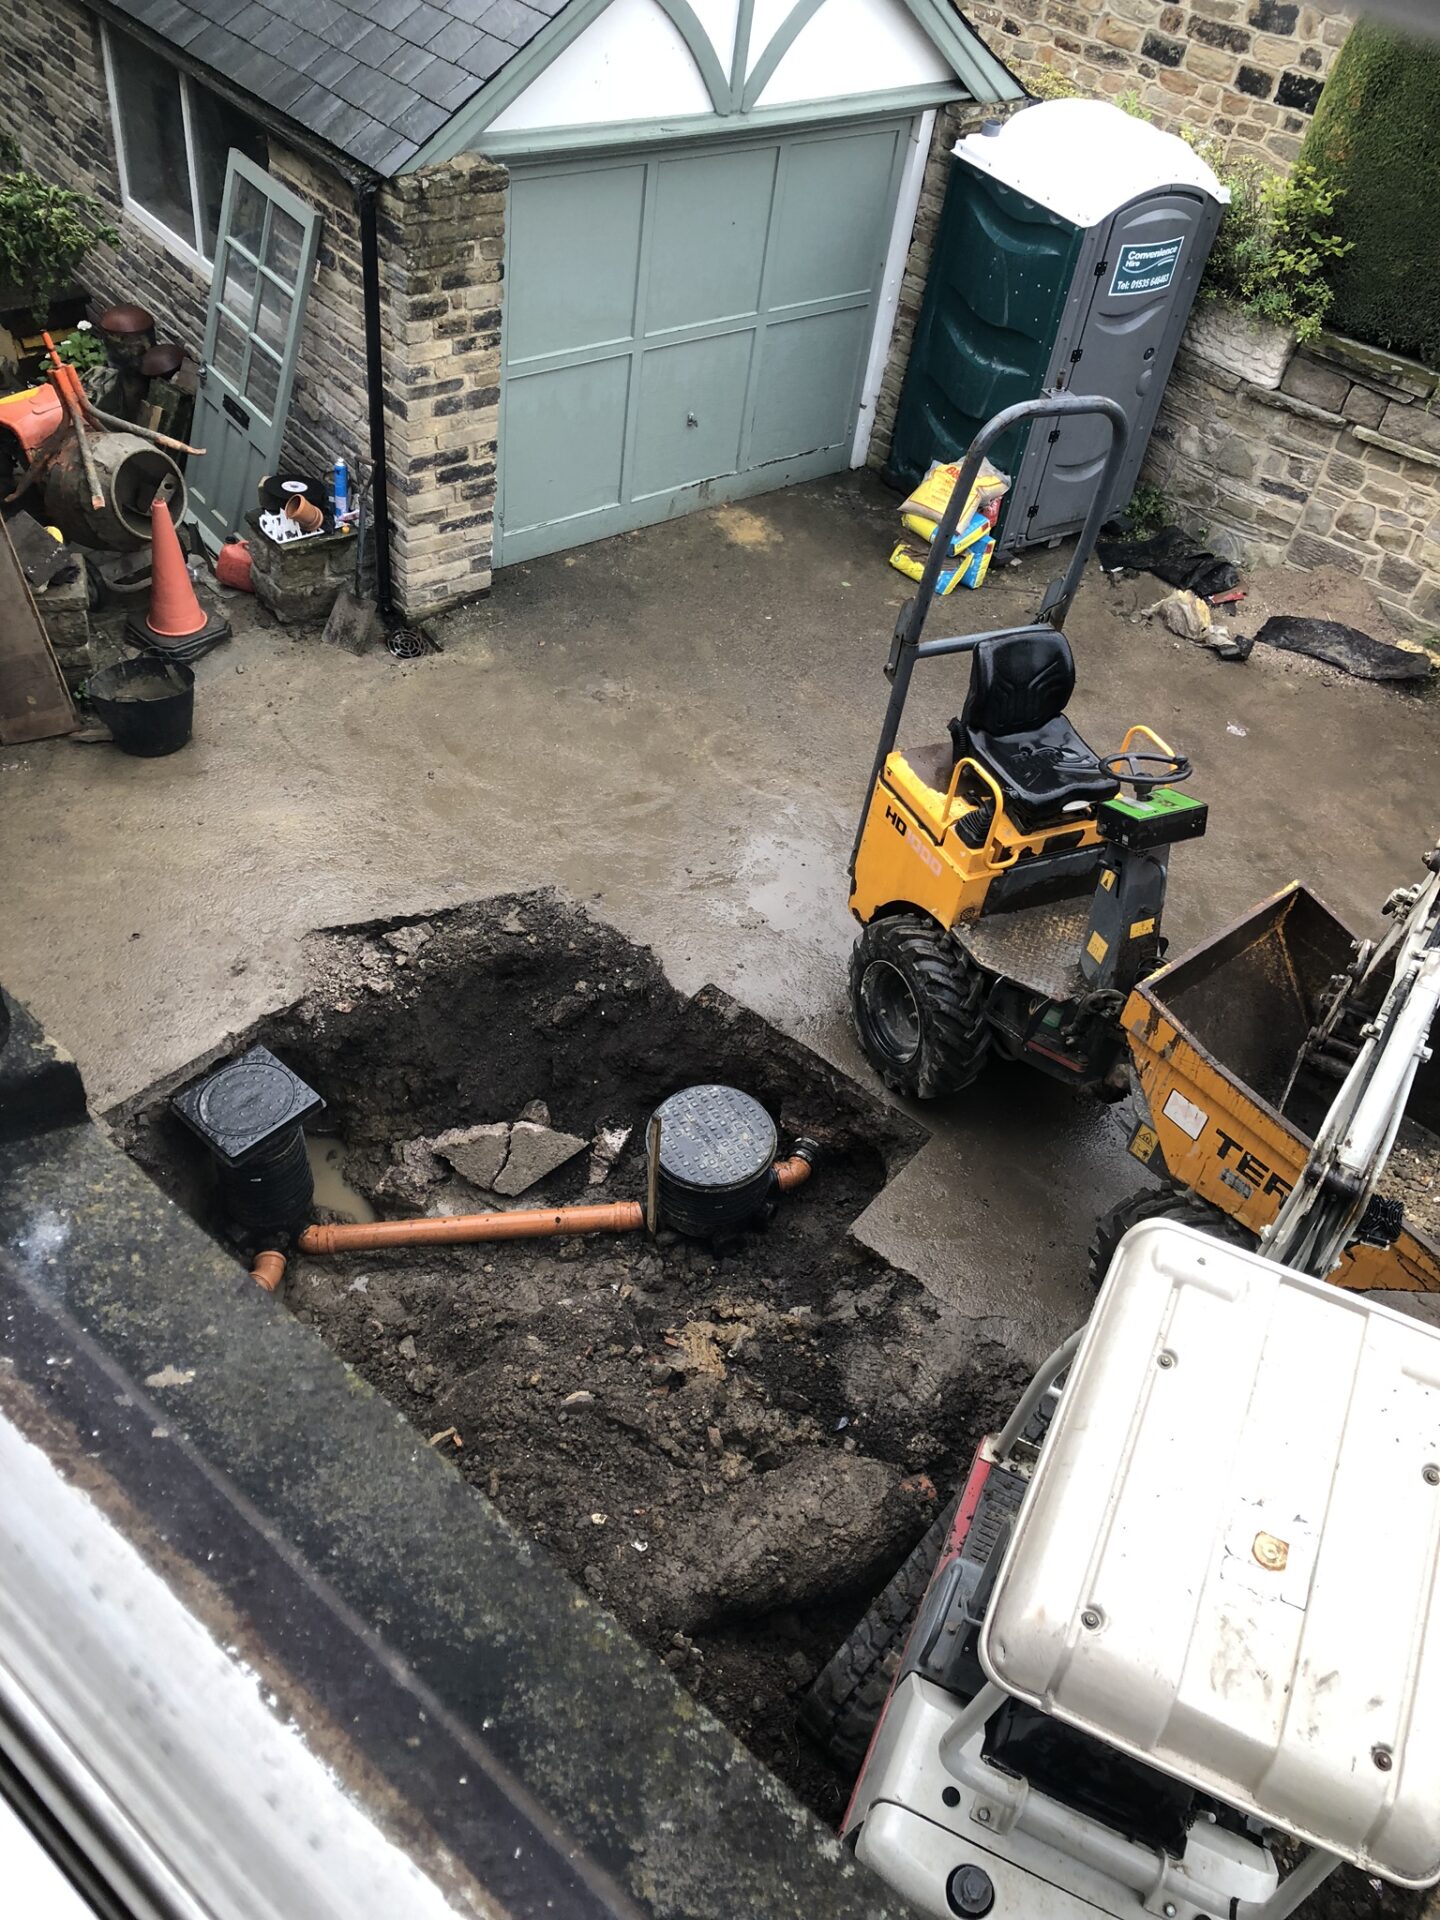
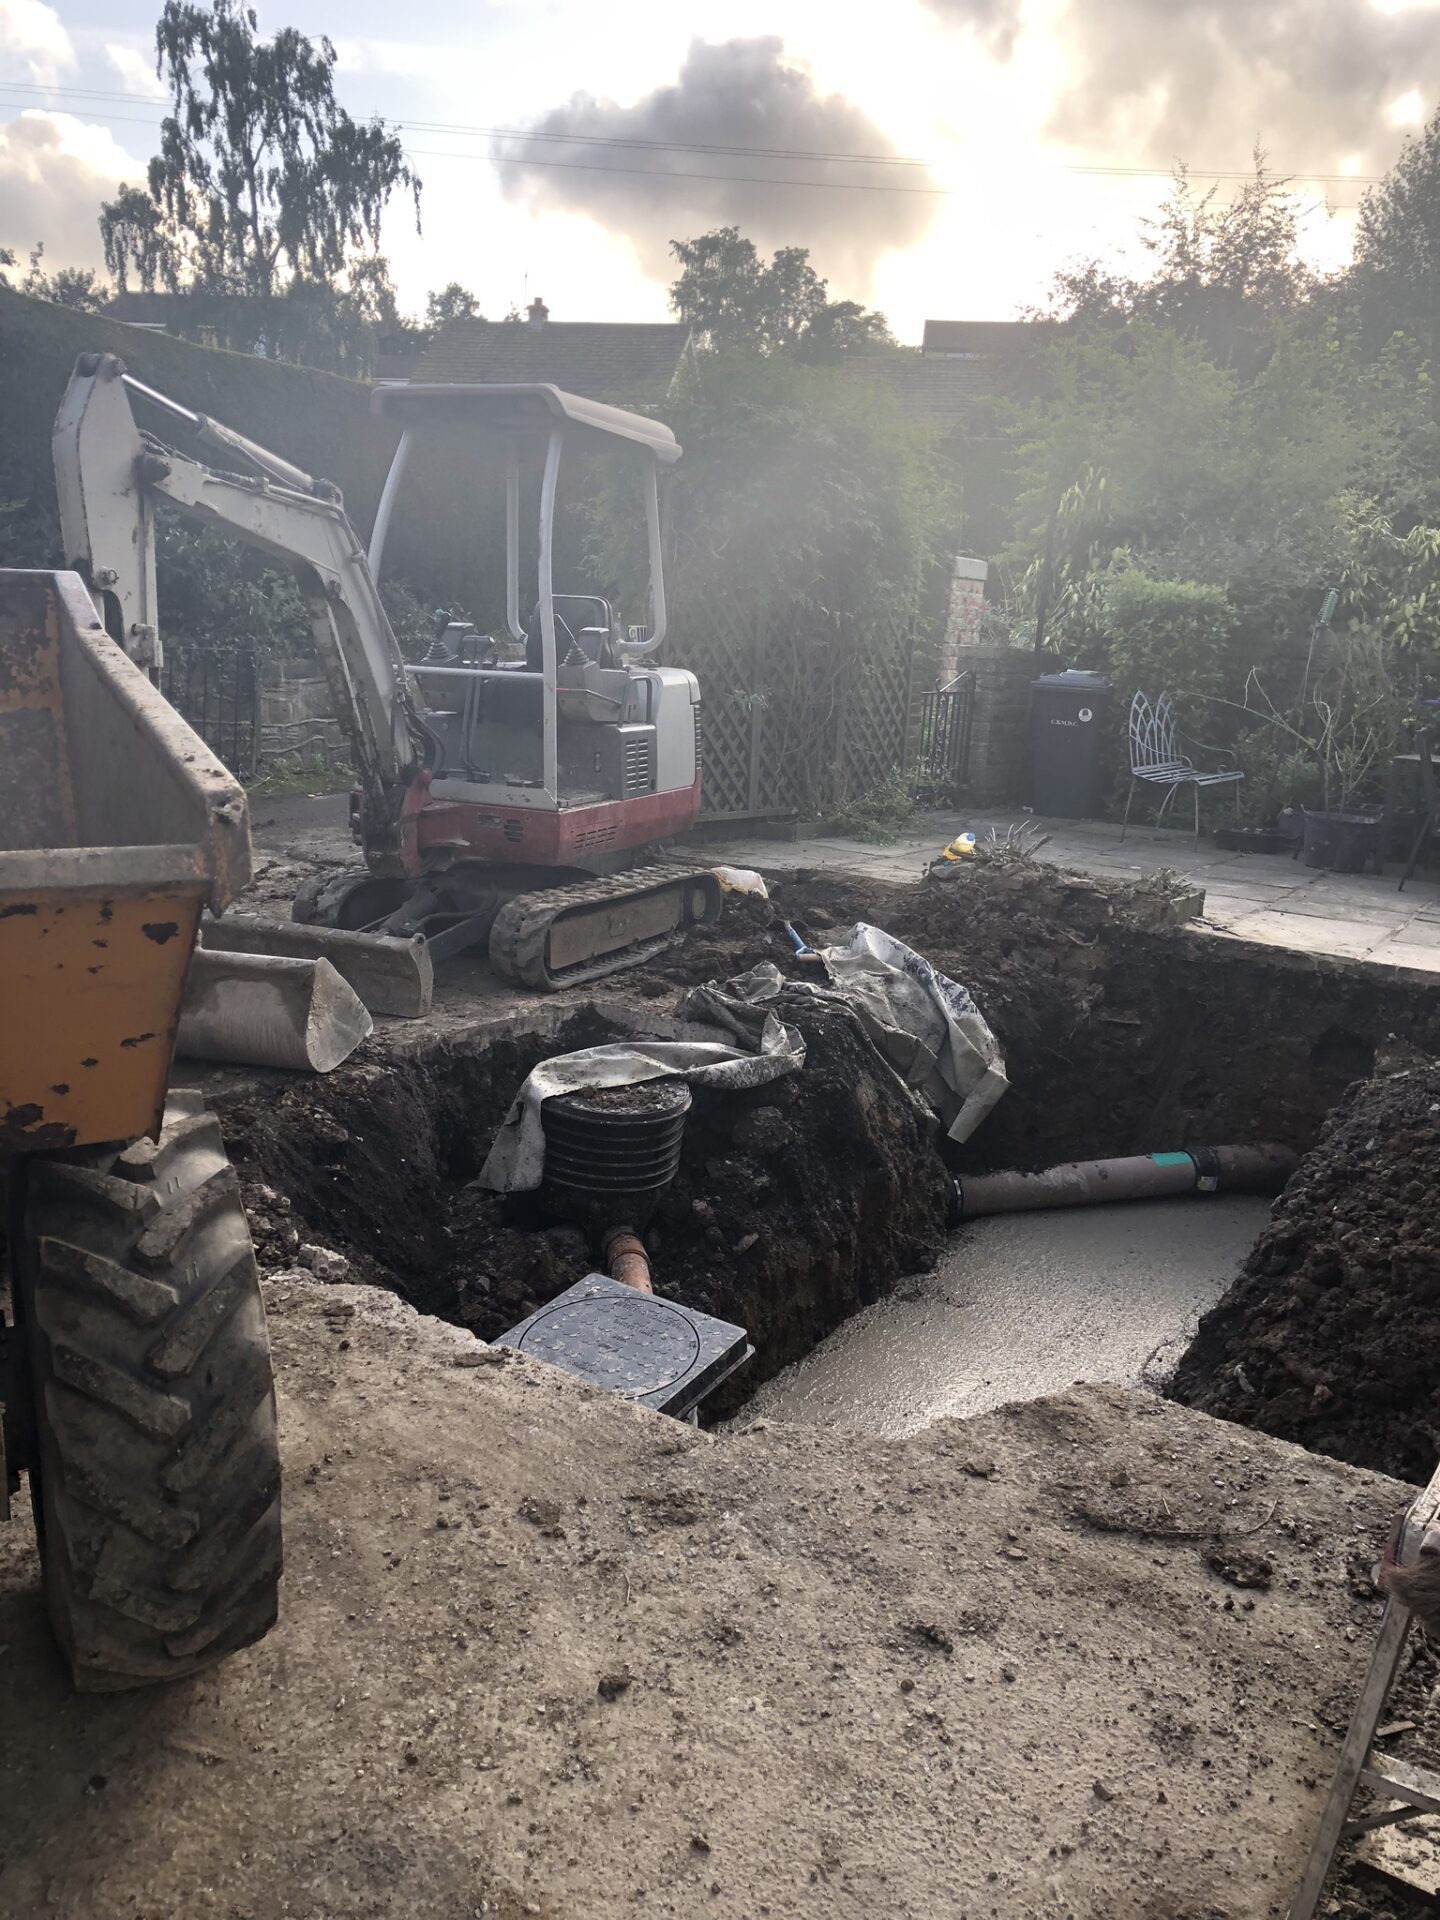
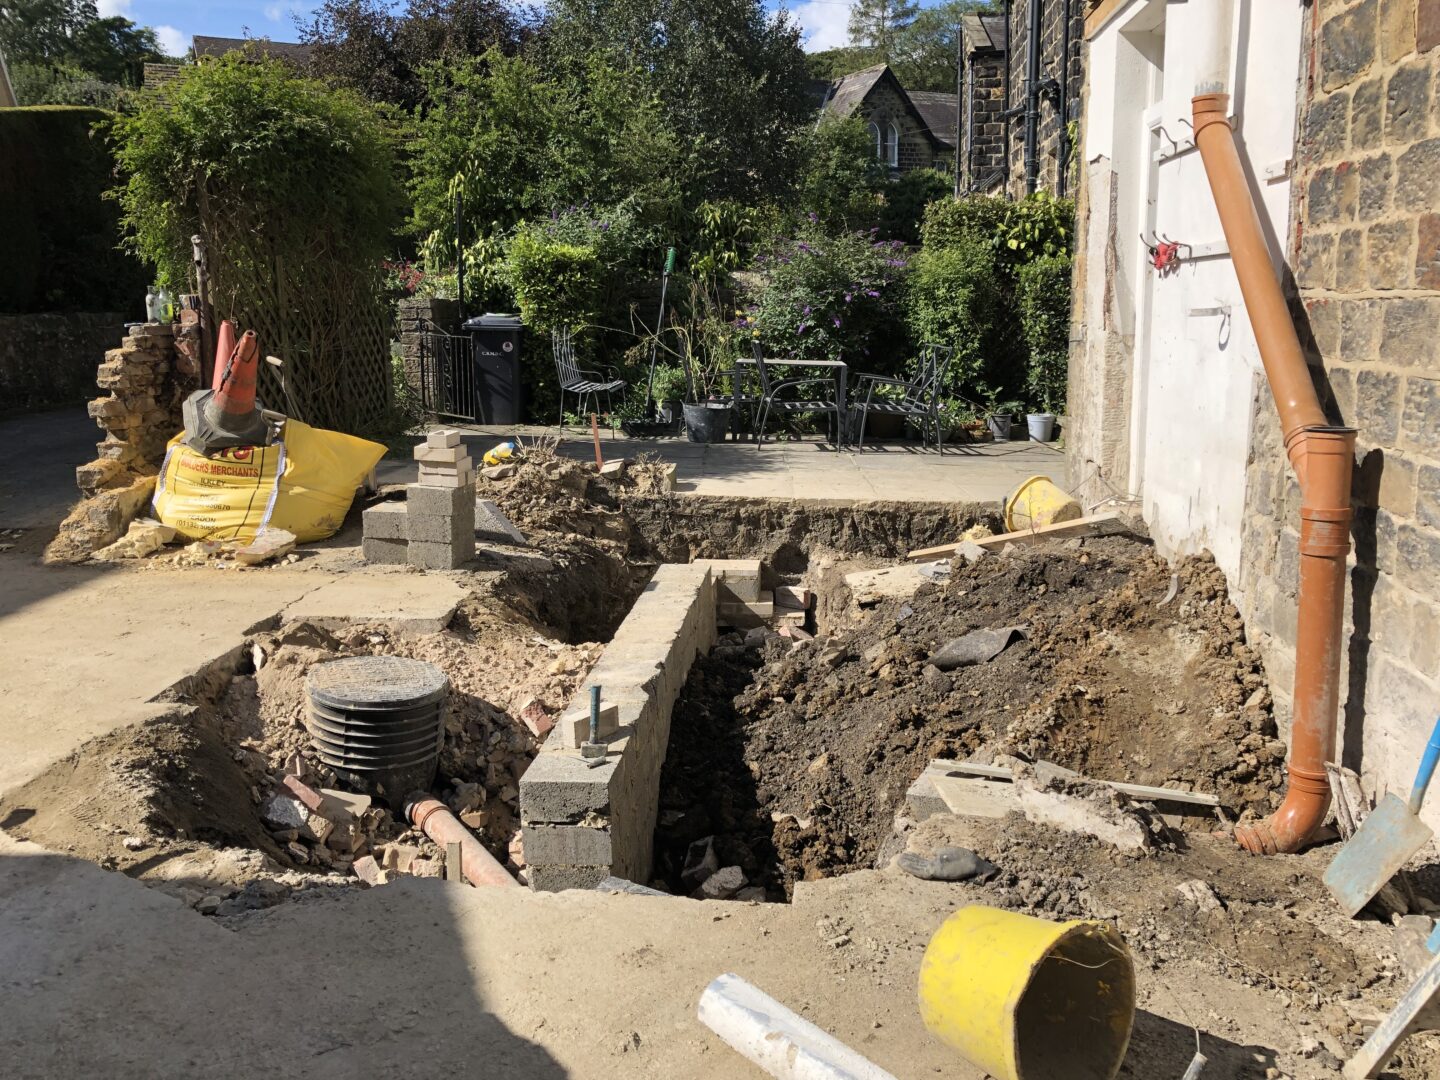

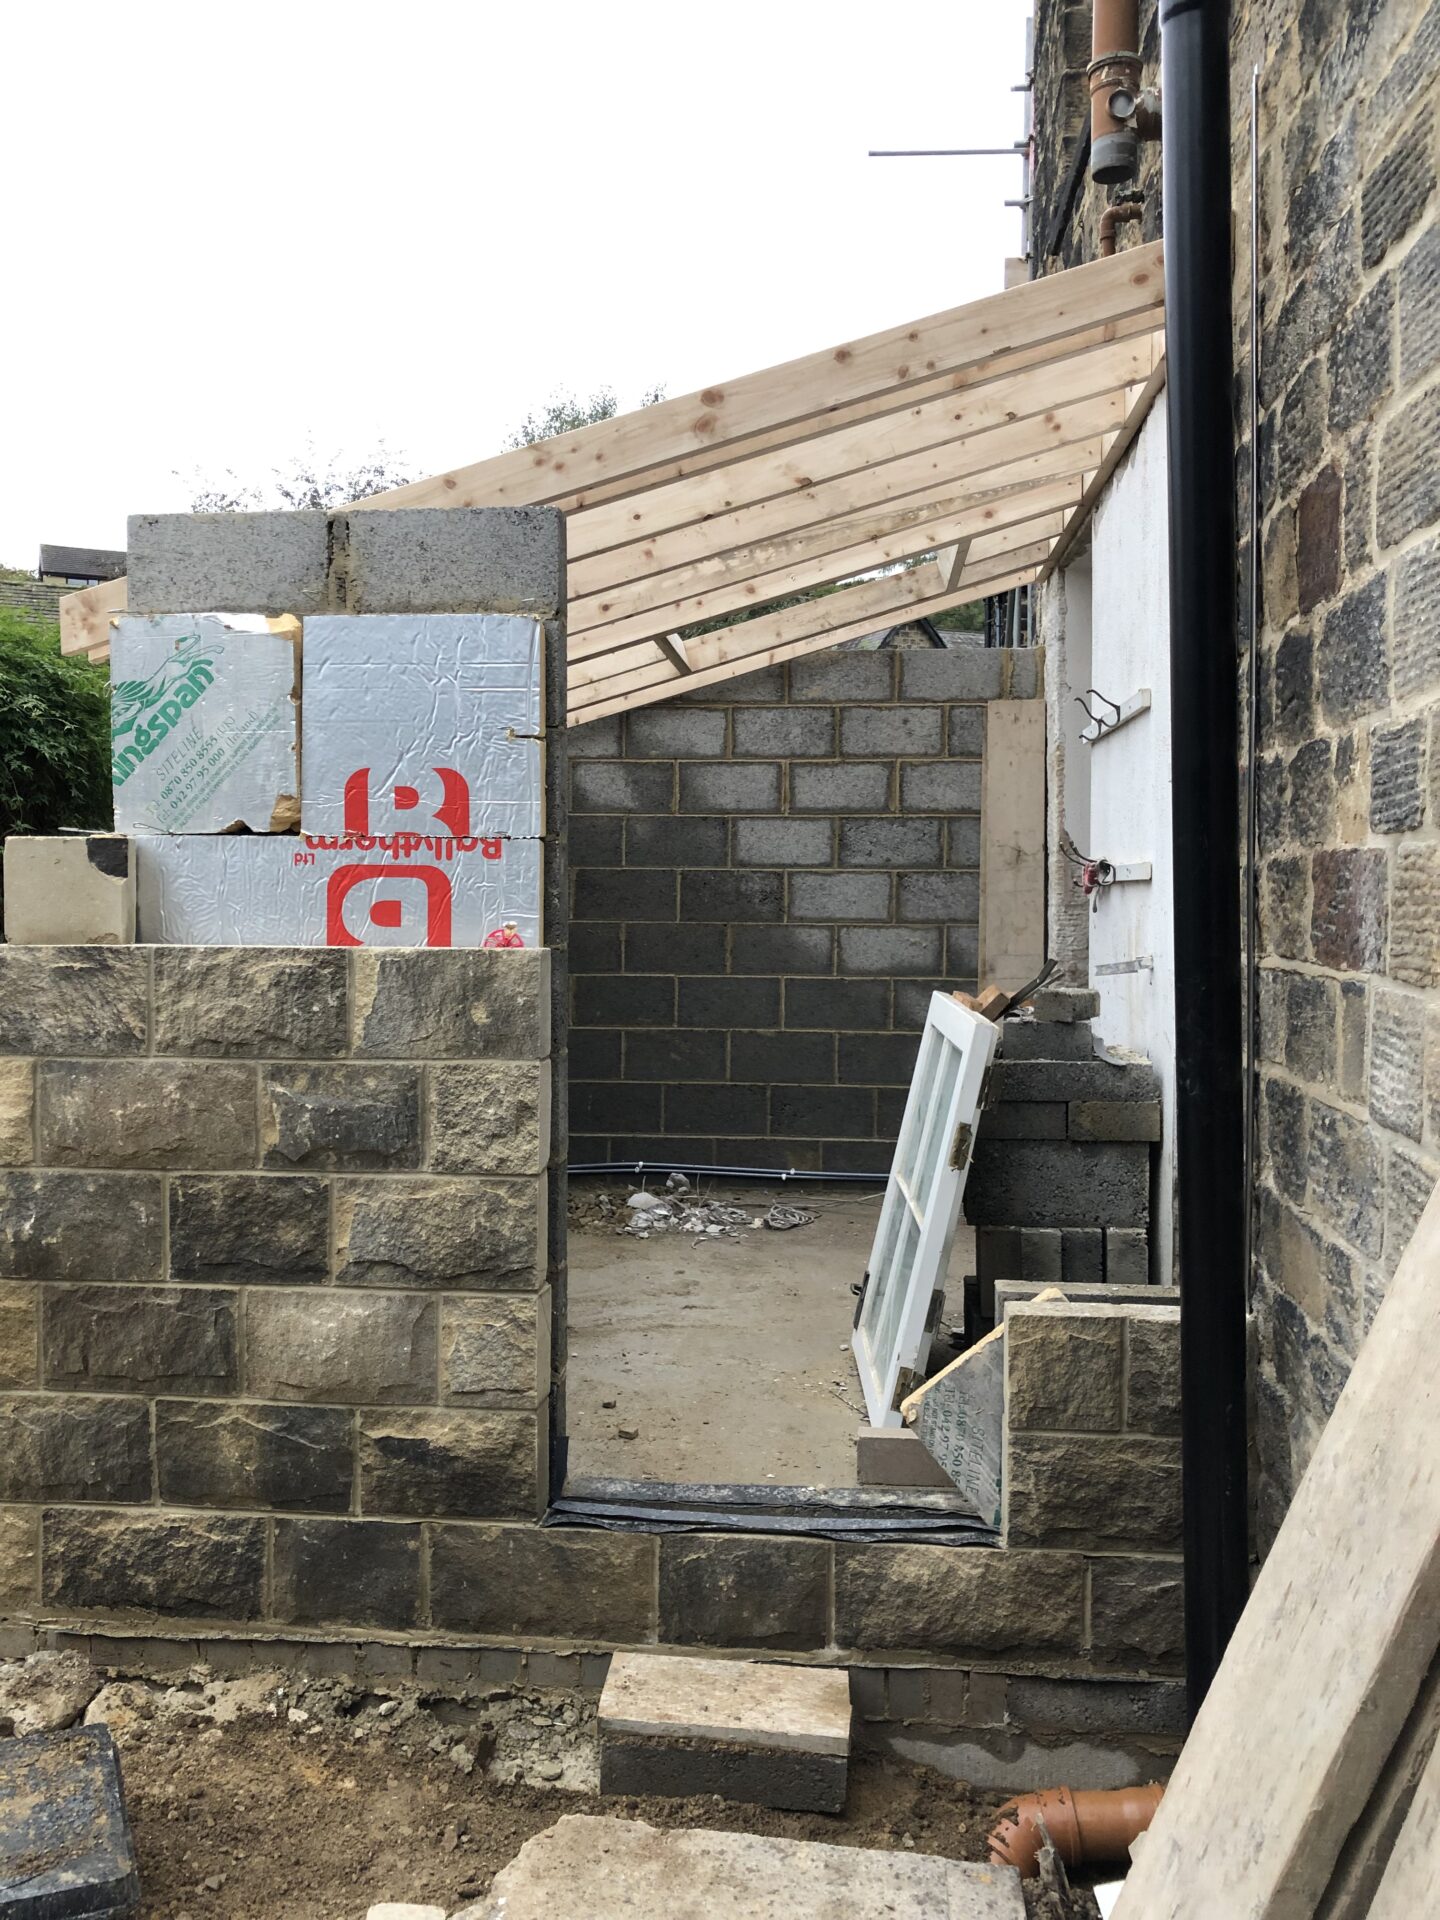

The innards
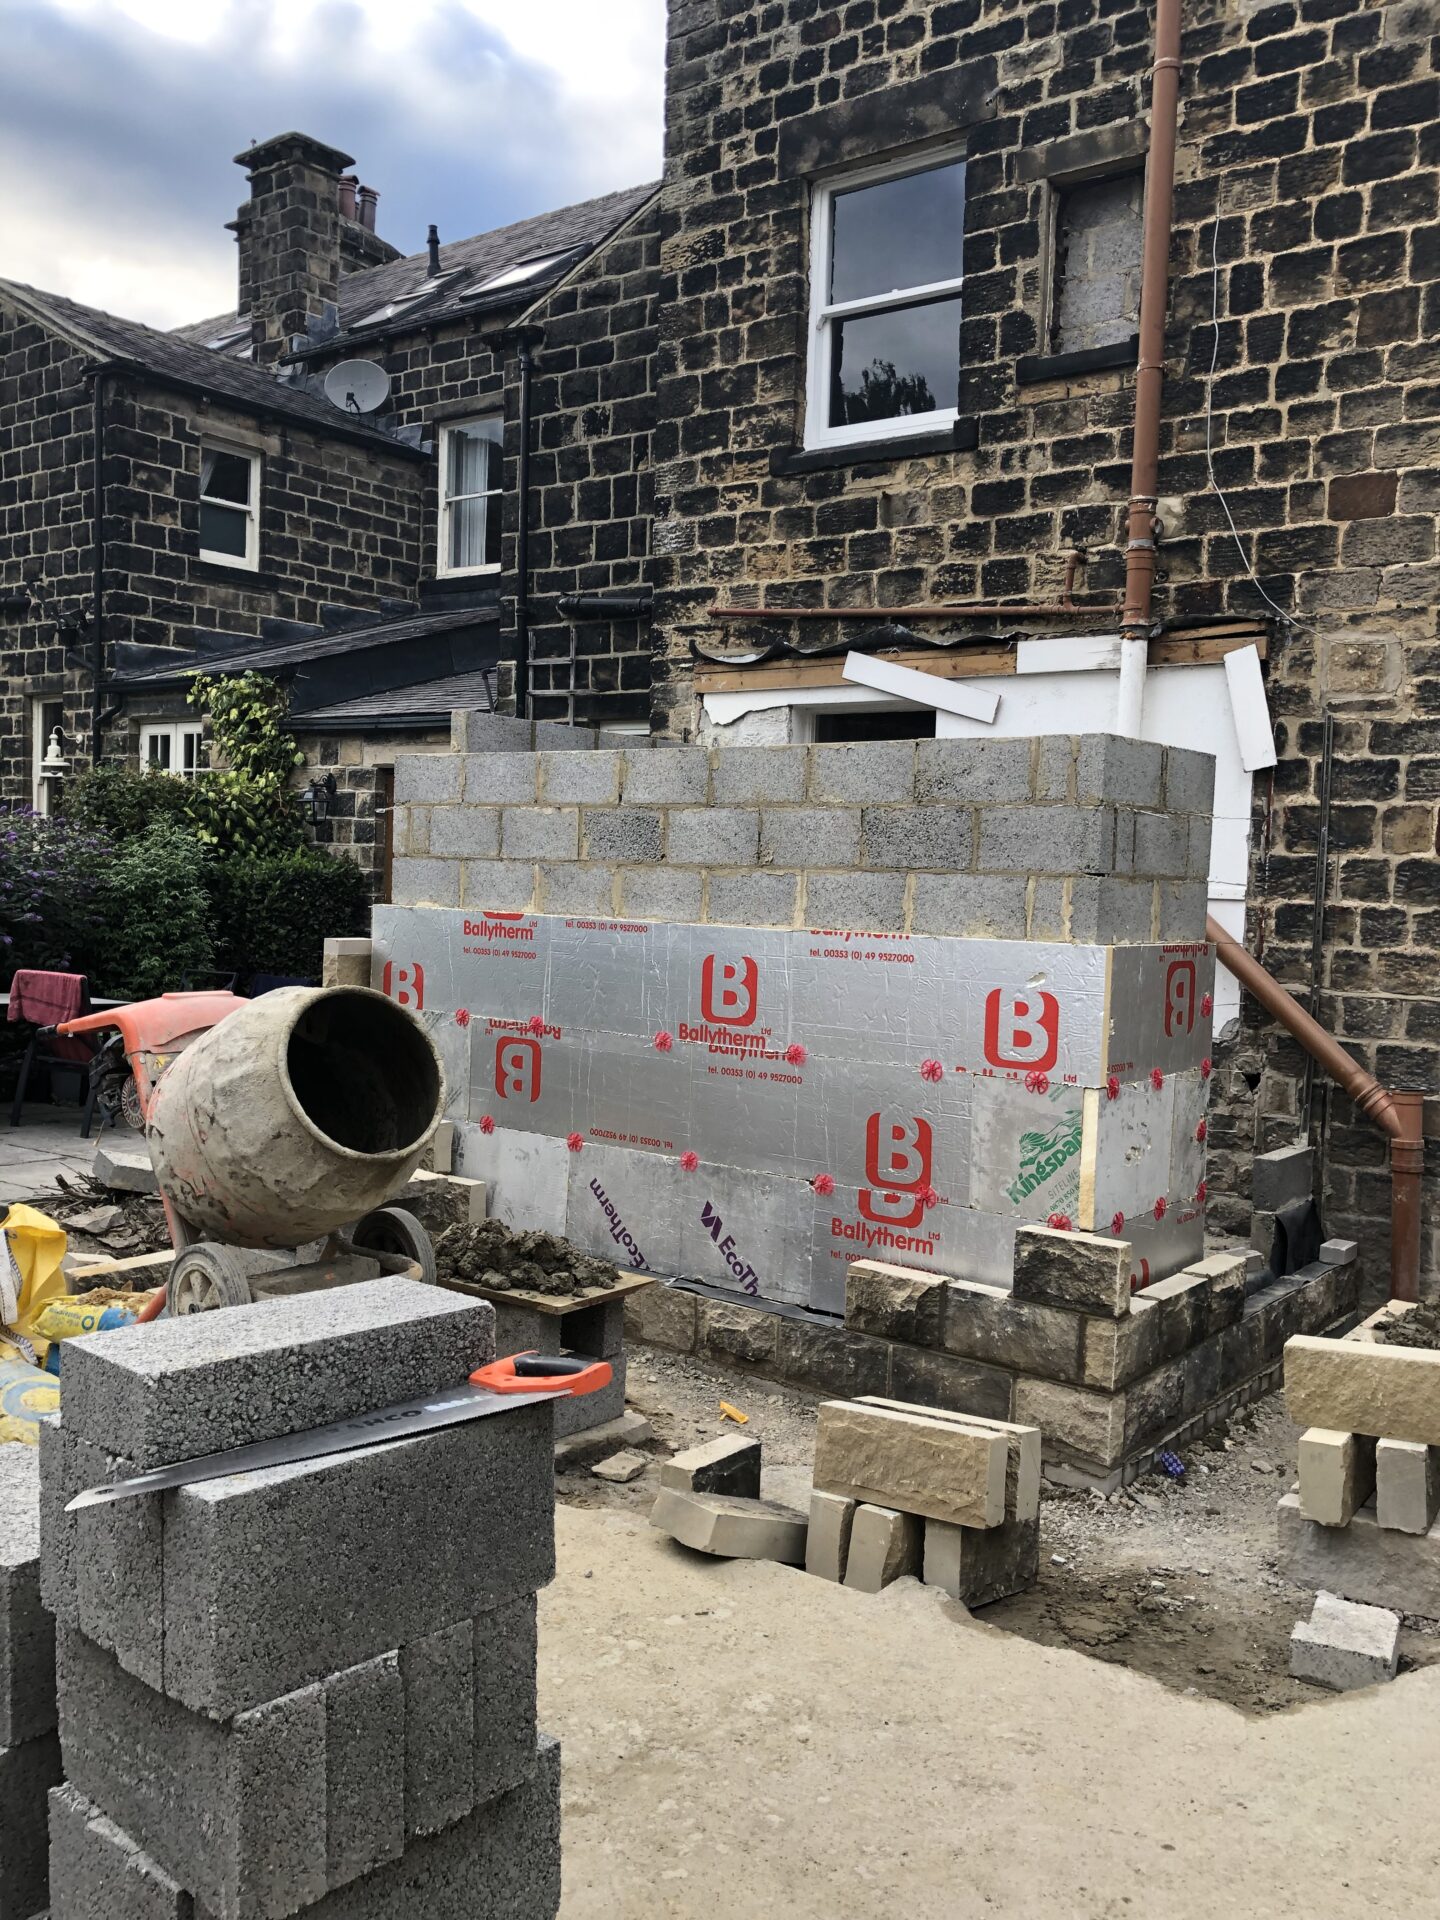
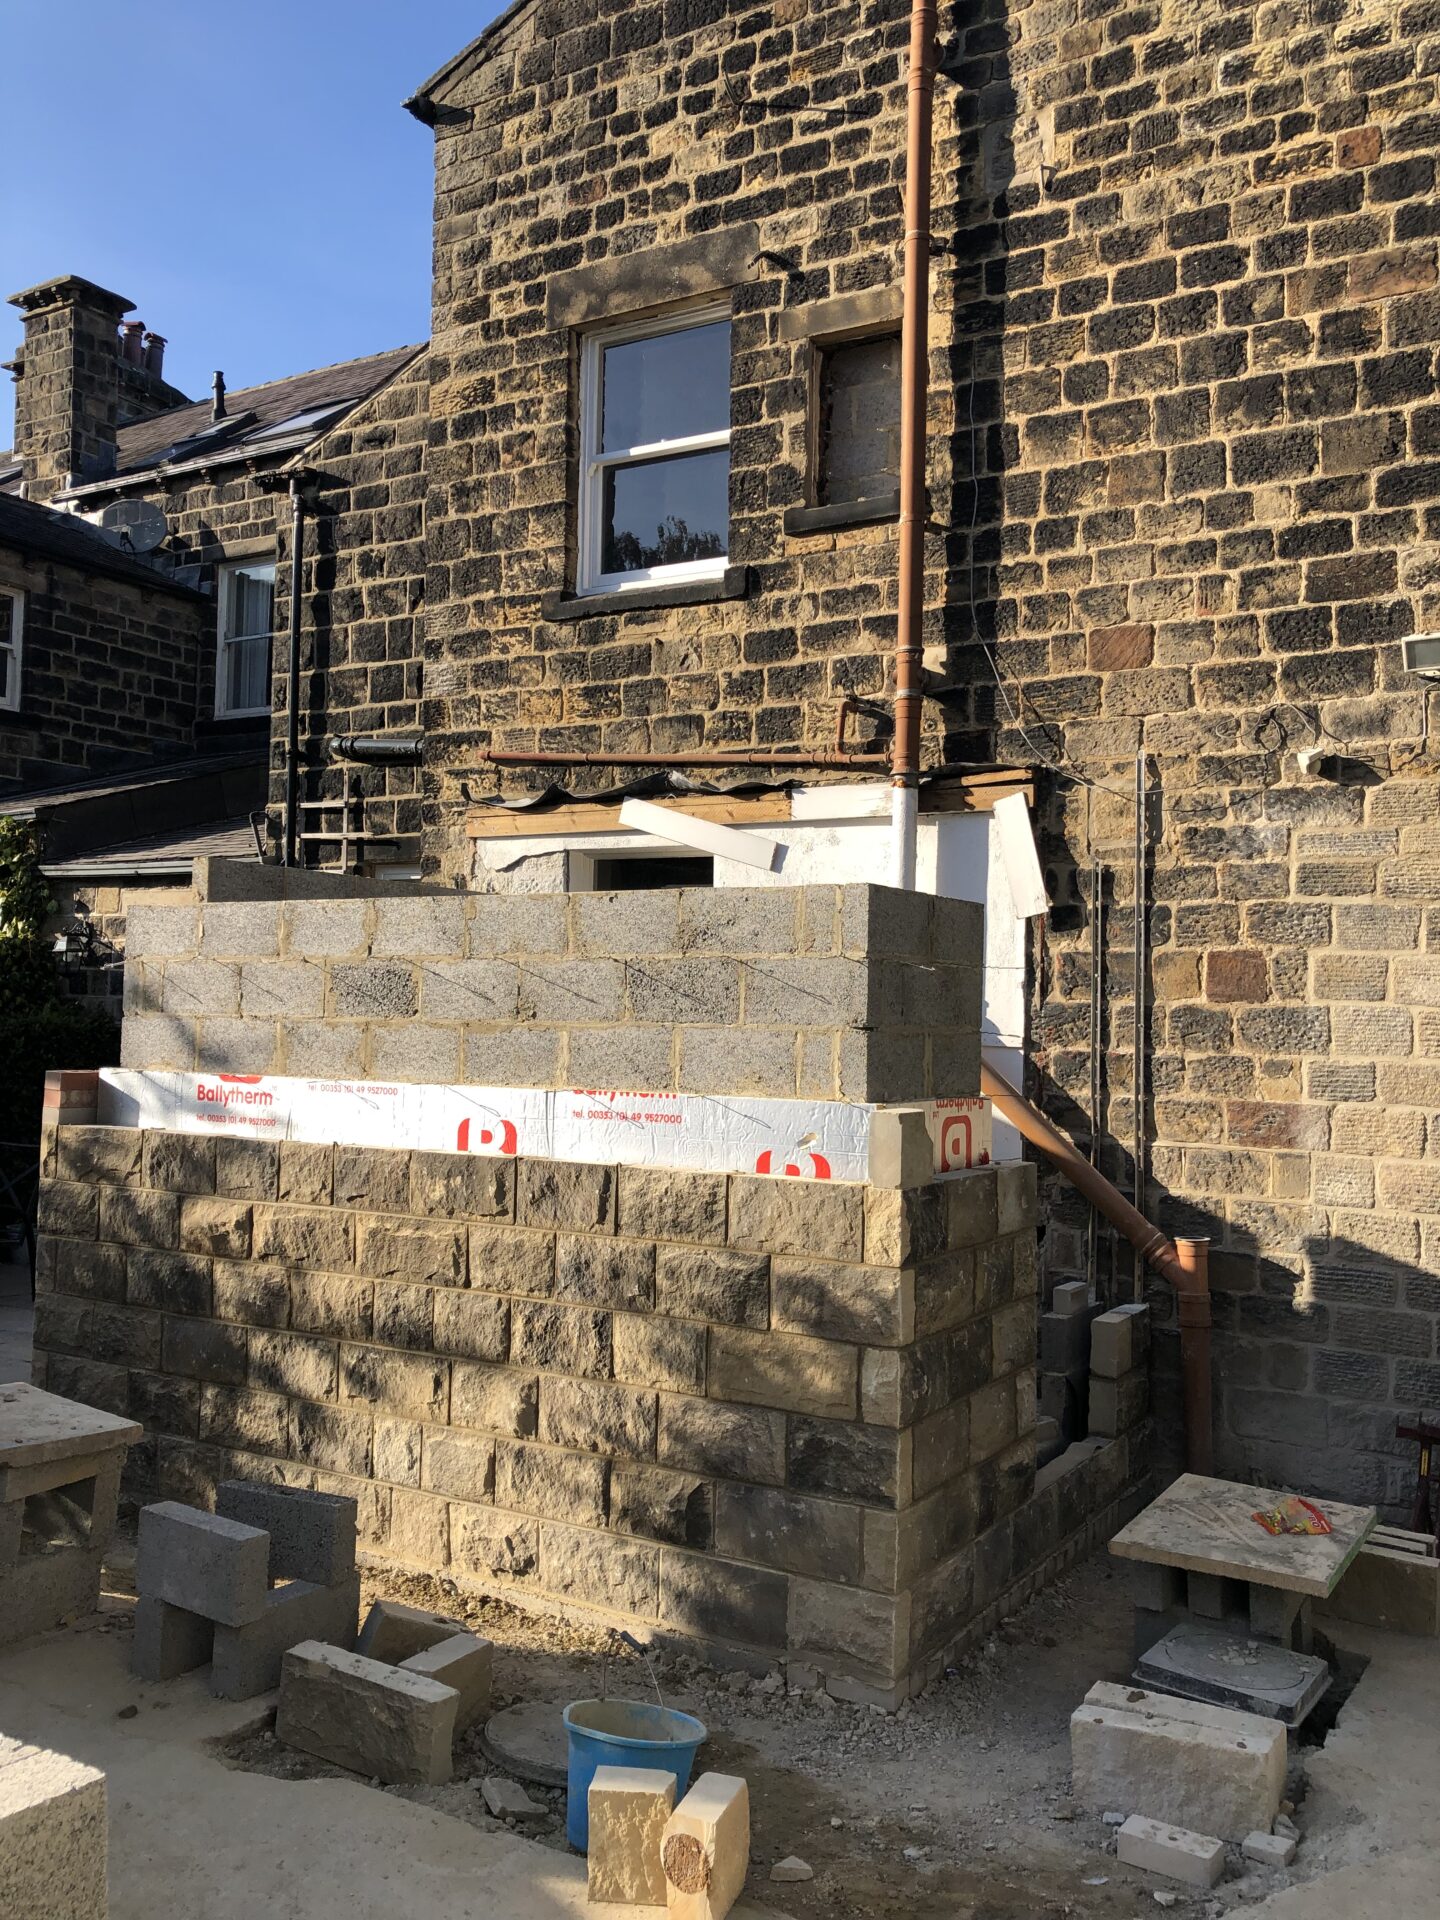
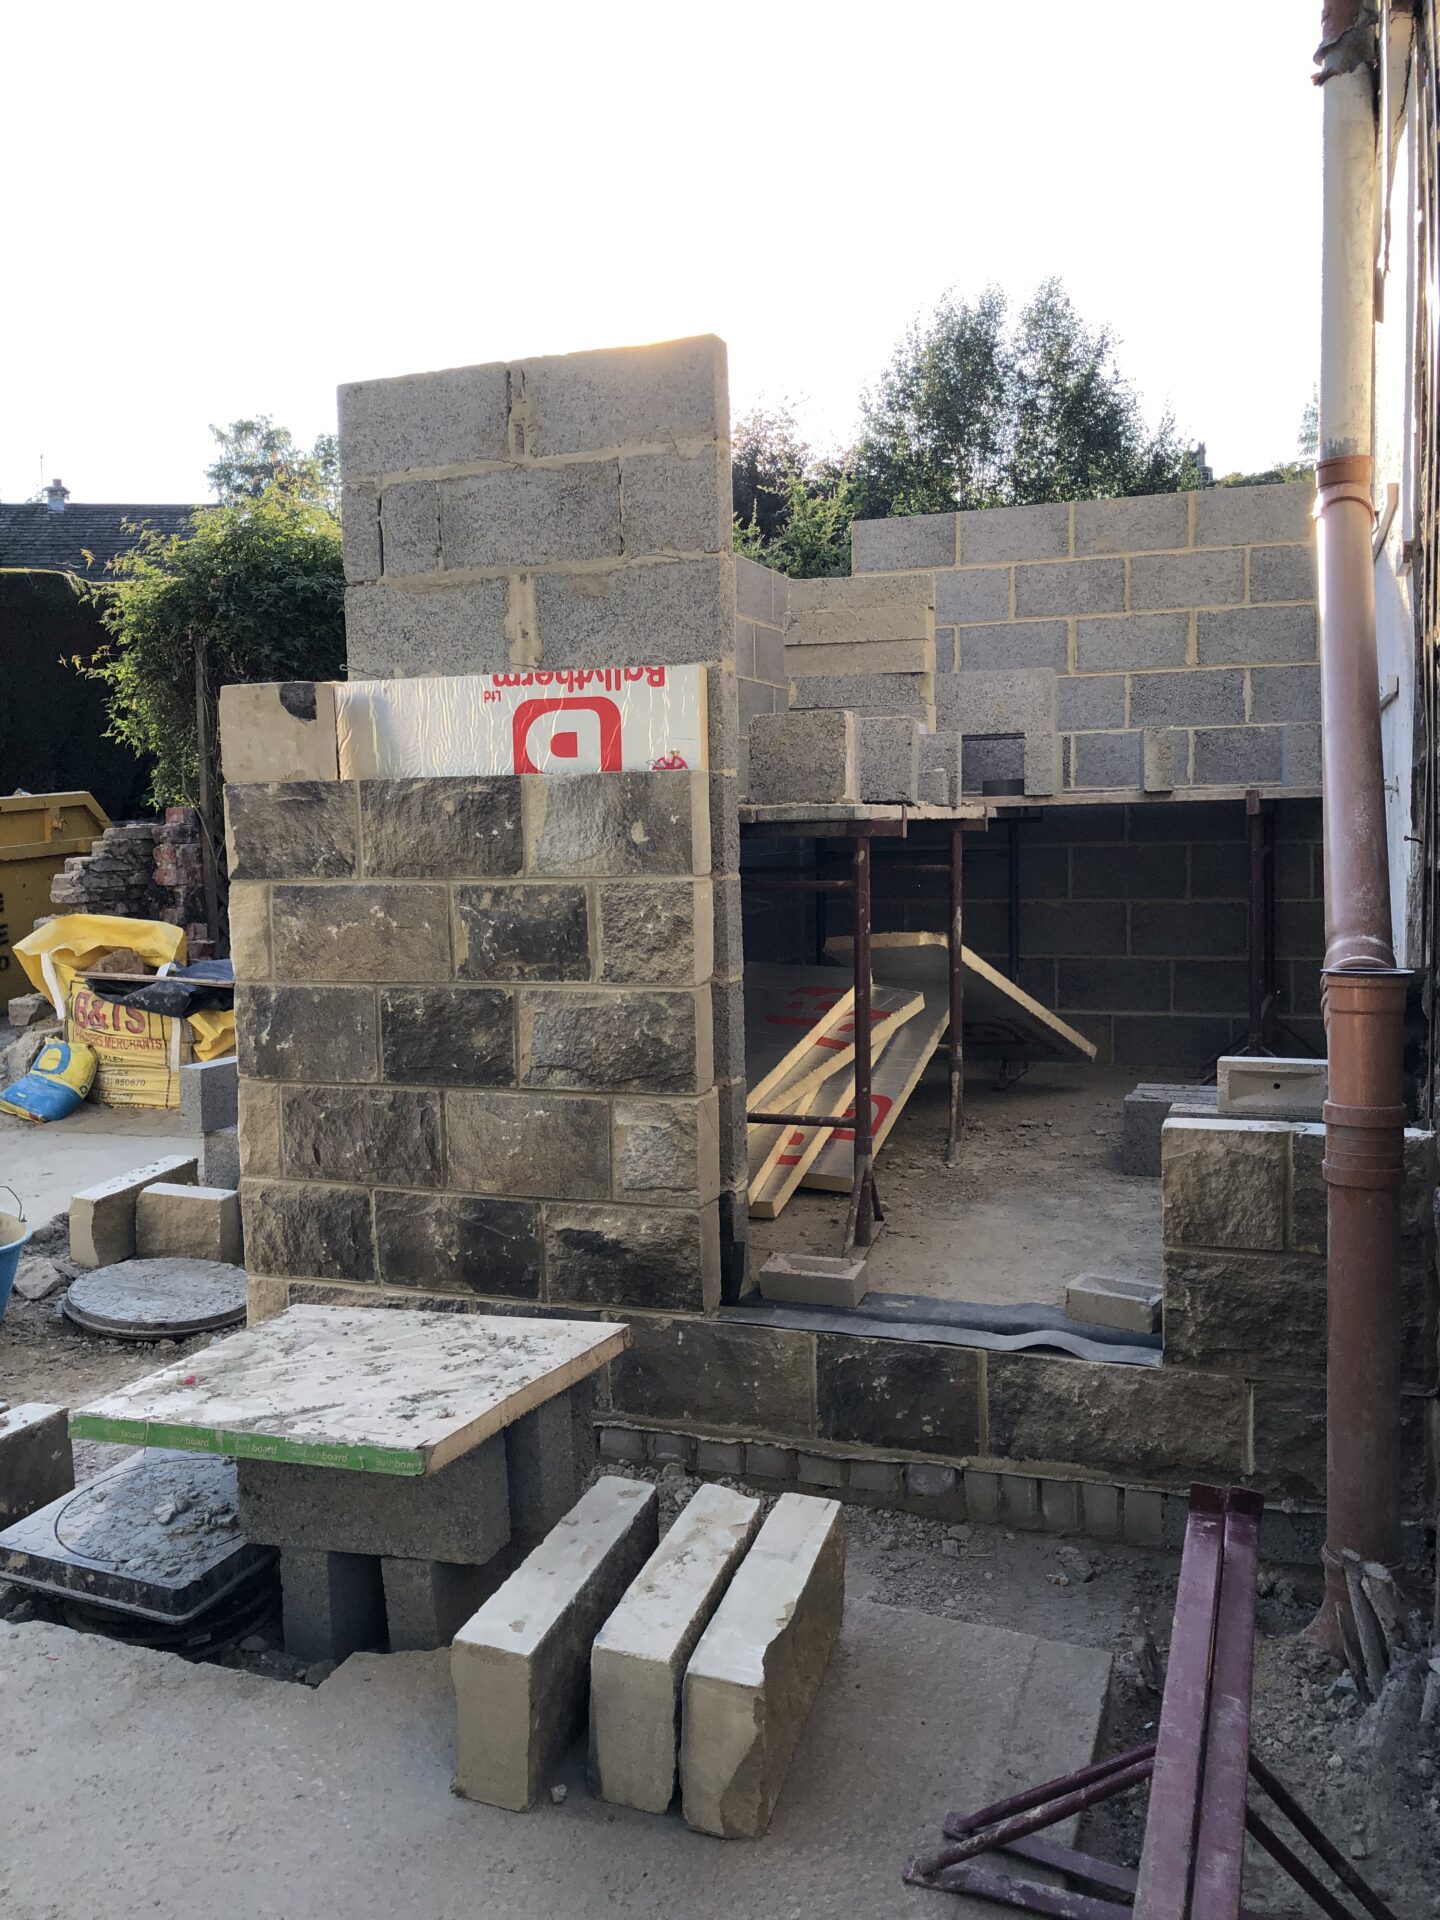
So, we had a structure. We built on the footprint of the previous utility, and kept the height and angle of the roof the same, to avoid the need for planning permission. This did limit what we were able to include in the space to some extent. It’s not a huge space (it’s 210w x 340l, with a sloping ceiling), and I wanted it clutter-free, with everything behind closed doors, so it had to work hard. I made a wish list of everything I wanted in there:
- A large, deep sink with workspace to either side;
- Underfloor heating (I didn’t want to lose any precious wall space to a radiator);
- Separate washing machine and tumble drier, hidden behind doors;
- Robust, easily cleanable, worktops and flooring (probably tiles);
- Recycling bins;
- Shoe and coat storage, with a bench;
- Space to store the ironing board and iron, clothes airer, vacuum cleaner, mop, shopping bags, cleaning products, laundry products, and extra space for all the stuff which doesn’t really have a home;
- Space to iron/fold laundry;
- Full height freezer (it was much easier put it in here, and it would have compromised the kitchen design a bit to have it in the kitchen);
- Microwave (it’s about 4 steps away from the kitchen island, so was a good place to tuck this away, out of sight);
We’d been able to put a (warm, clean, spider-free and, in all senses, delightful) downstairs WC elsewhere, so didn’t need to include that. I originally thought the boiler might need to go in there too, but that eventually went down in the cellar. I presented my list to Stuart at Born of Wood, who made my kitchen (the utility really is an extension of the kitchen and was always going to have the same cabinetry etc), and skipped off merrily, leaving the hard work of getting all of those things into a teeny space entirely down to him. Reader, he did a grand job, and here is what we ended up with, in a handy Instagram Reel:
It’s such a brilliant space, it makes me feel extremely grown up and I got pretty much everything I wanted on my wish list.
1. The Boot Room (well, boot area, let’s not get ahead of ourselves).
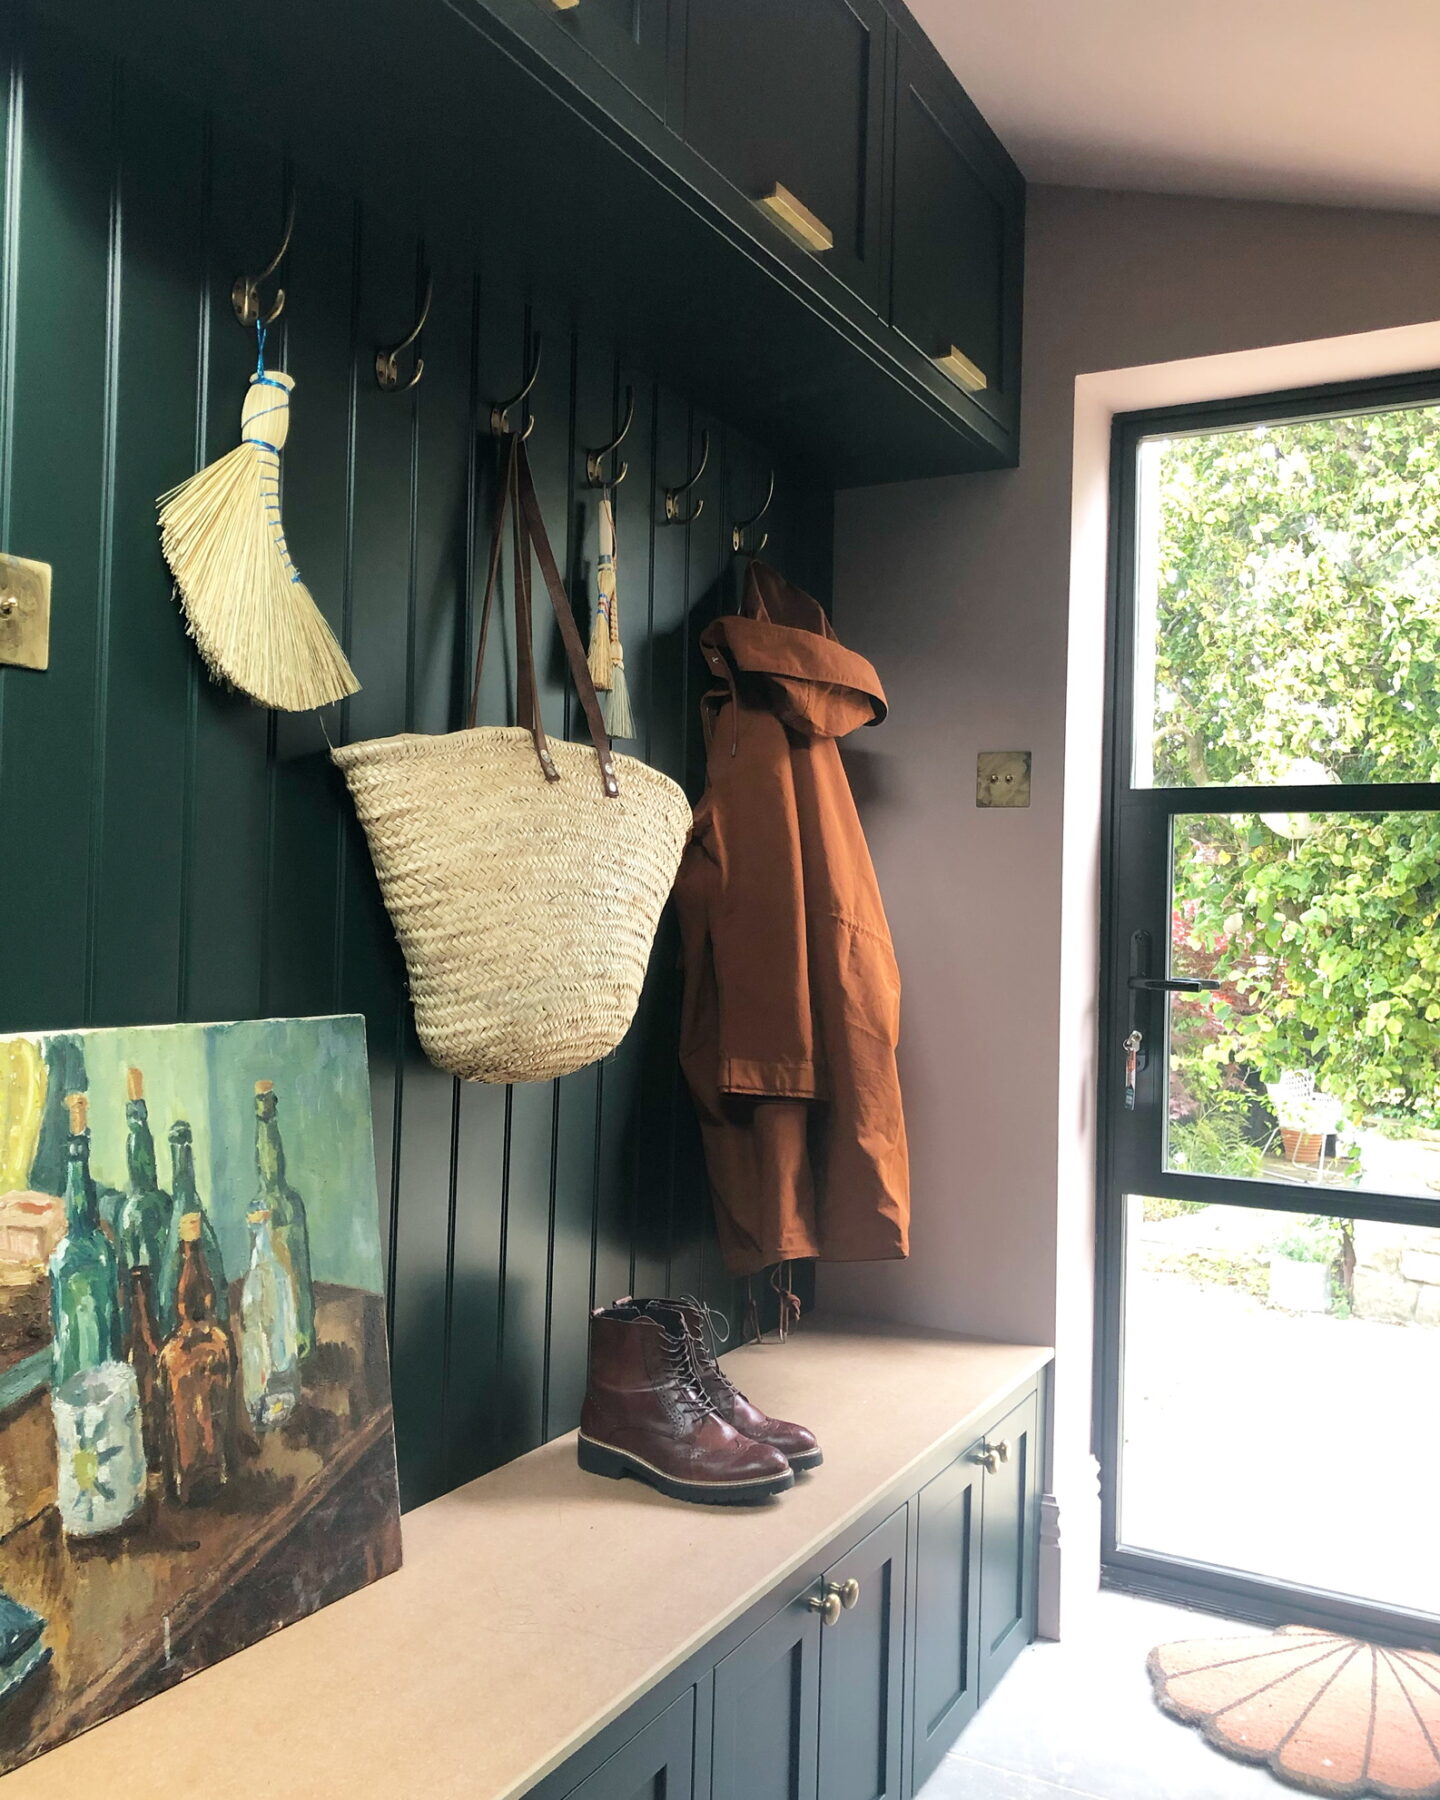
Isn’t she pretty? Of course, in real life, she’s barely visible beneath the sheer load of coats, baskets of laundry, and all the other things that get dumped here, but that’s life, innit. I’m going to upholster the bench, but haven’t got round to it yet. All of our coats are hung here, there’s shoe storage behind doors under the bench, and more cupboard storage at the top, for hats, scarves, bags, etc.
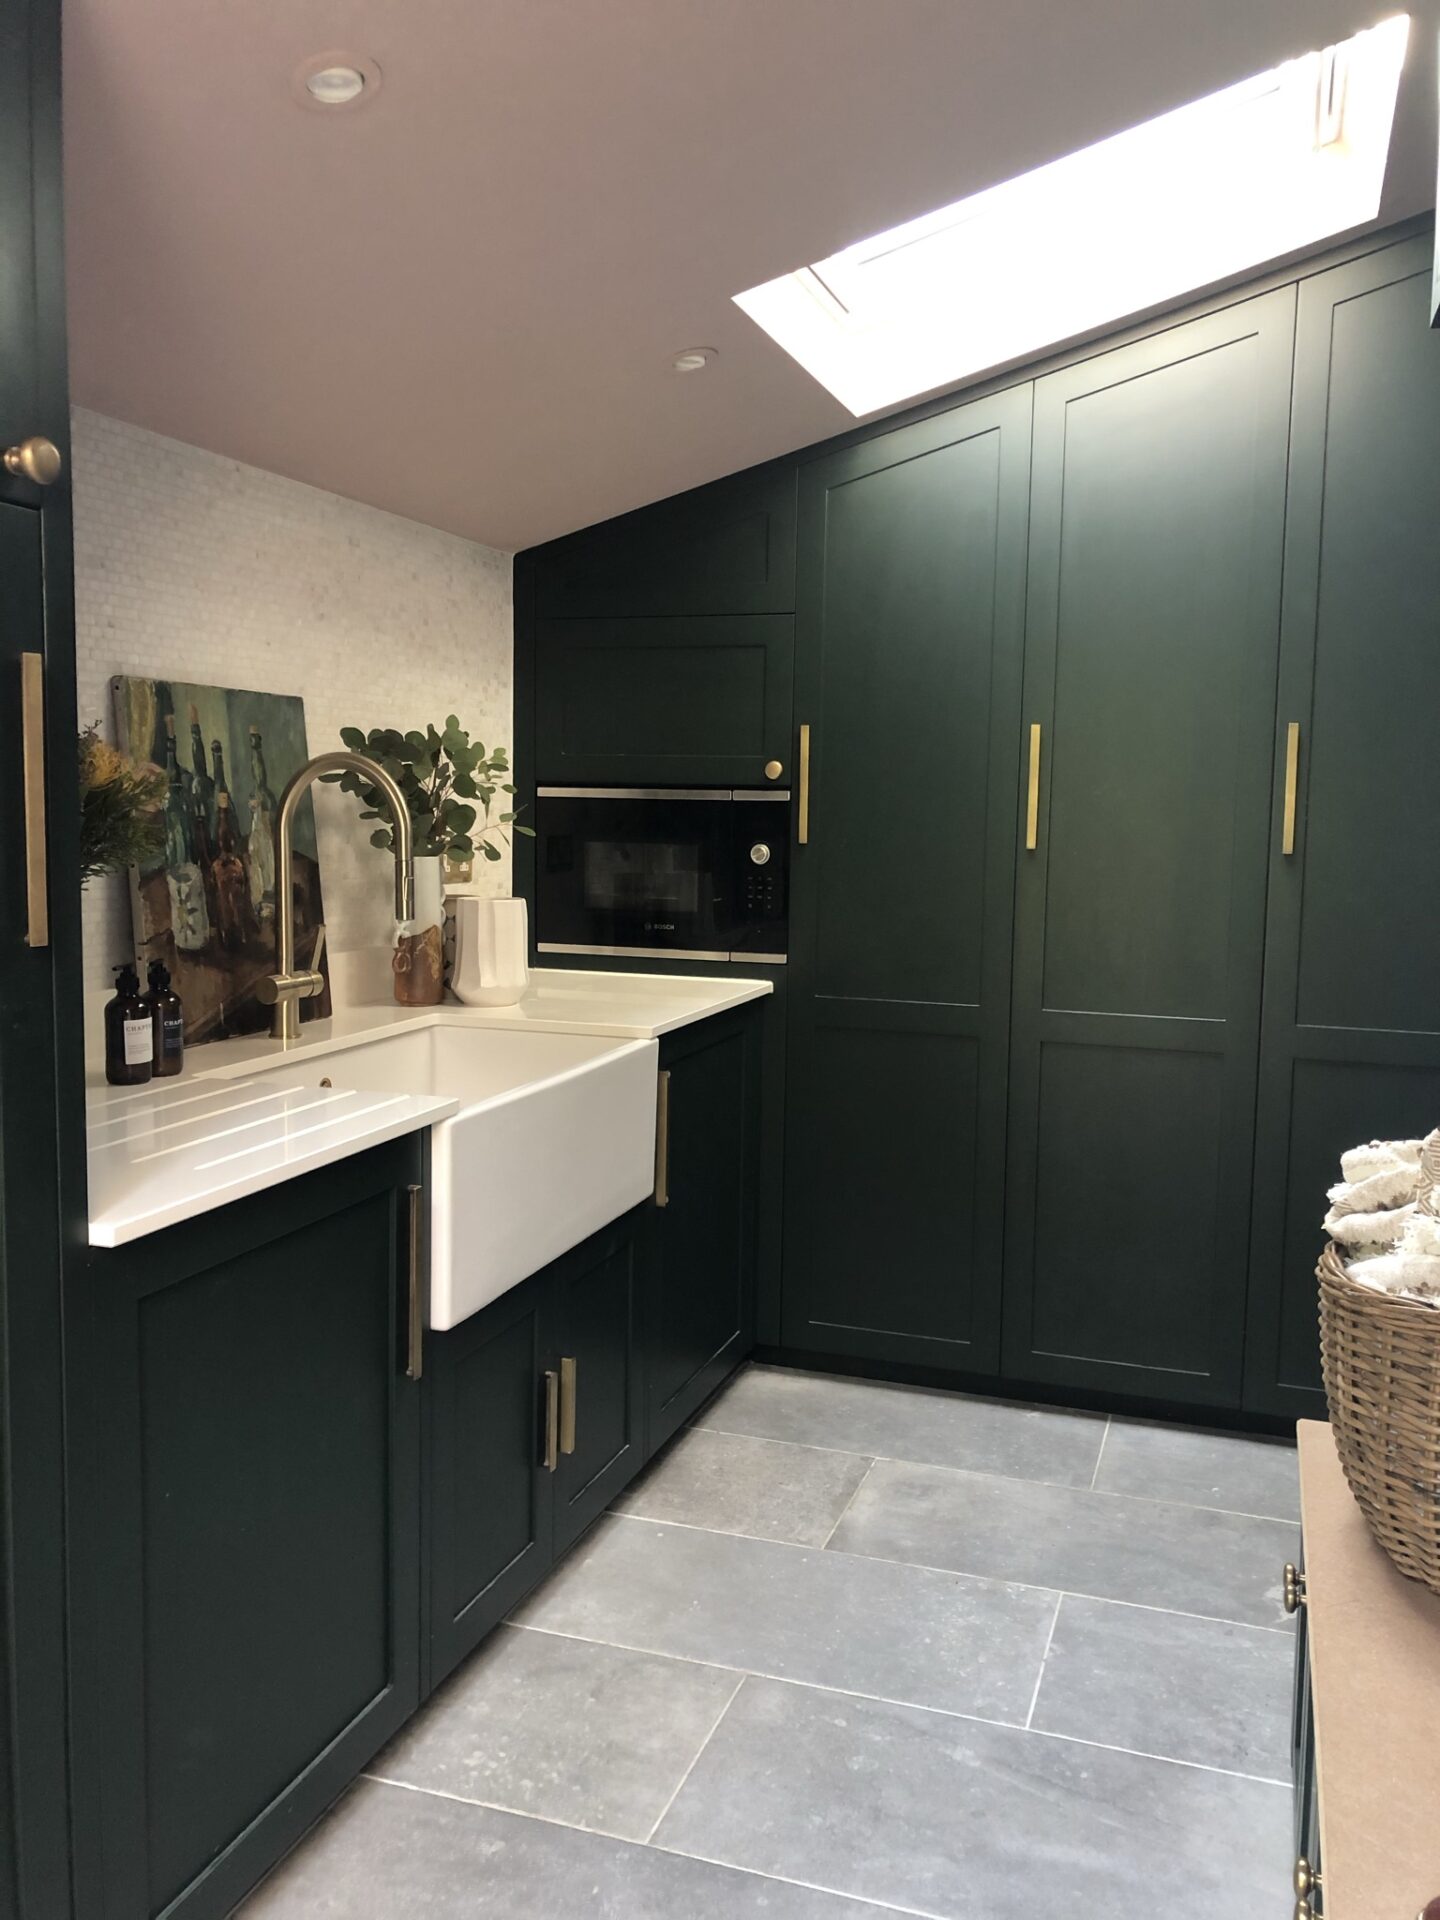
2. Keeping it all behind closed doors.
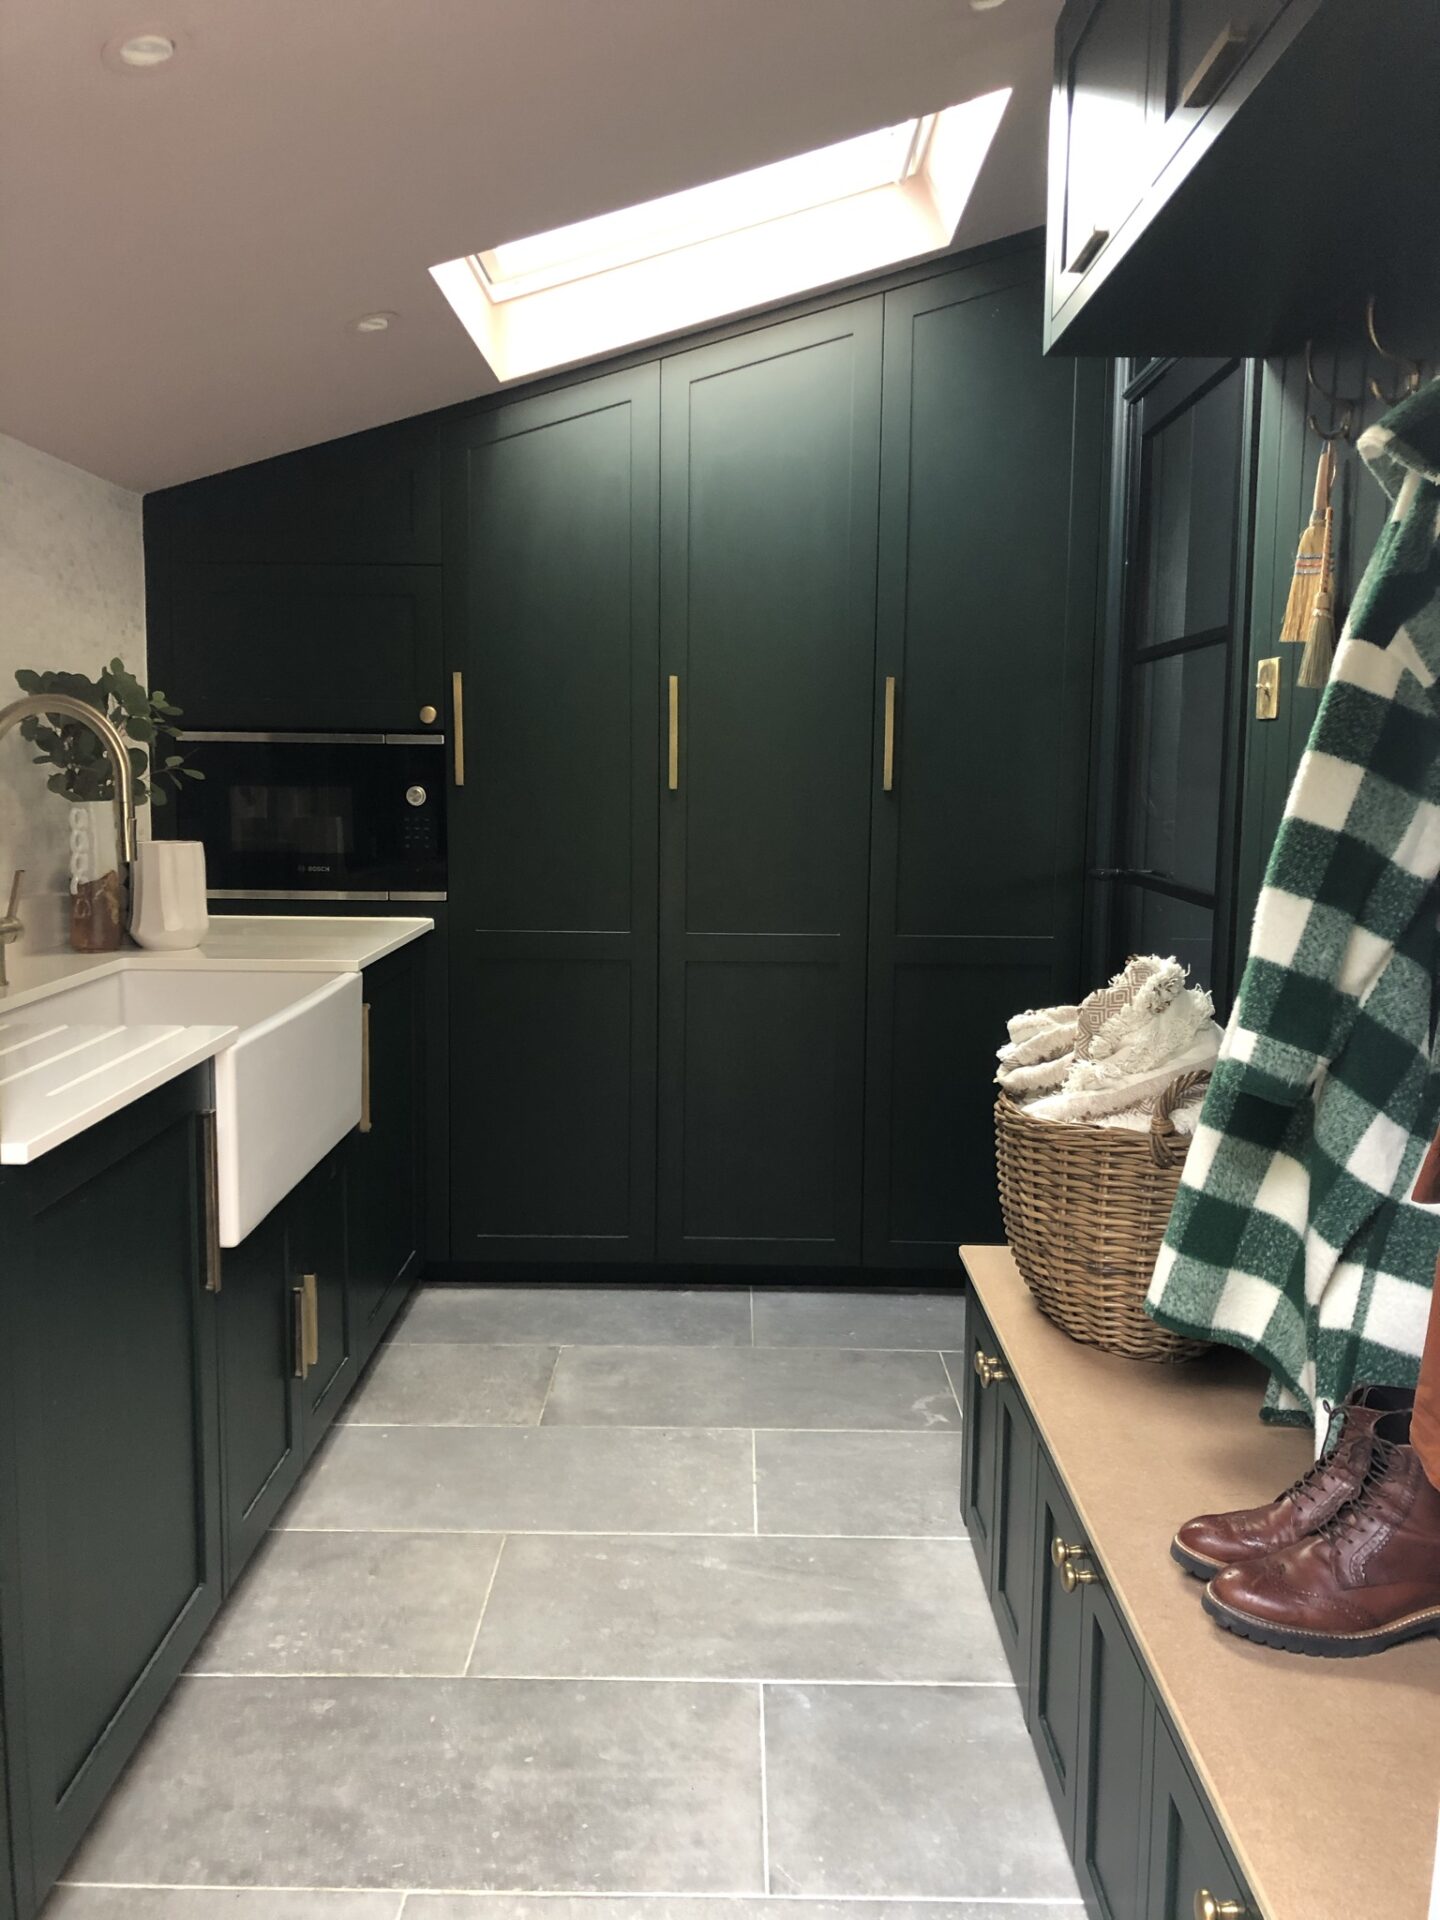
This is the view from the door into the utility from outside. I love the sloping wall of storage, not a single centimetre of space is wasted. We were working with the existing doorway in from the kitchen (the one you can see on the right), which meant that the cupboards couldn’t be quite as deep as I might have wanted (they’re 40cm deep), but it’s no biggie. From left to right, there’s:
- The built in microwave, and a cupboard for laundry products on top;
- Cupboard for the ironing board, iron, mop, vacuum cleaner.
- Cupboard with slide out recycling bin, shelf storage for shopping bags (even though we use reusable ones, HOW DO WE HAVE SO MANY?? I swear they reproduce), shelf for carpet cleaning machine.
- Cupboard with another slide out recycling bin, and shelves for general stuff which otherwise has no home (dog paraphernalia, first aid kit, buckets).
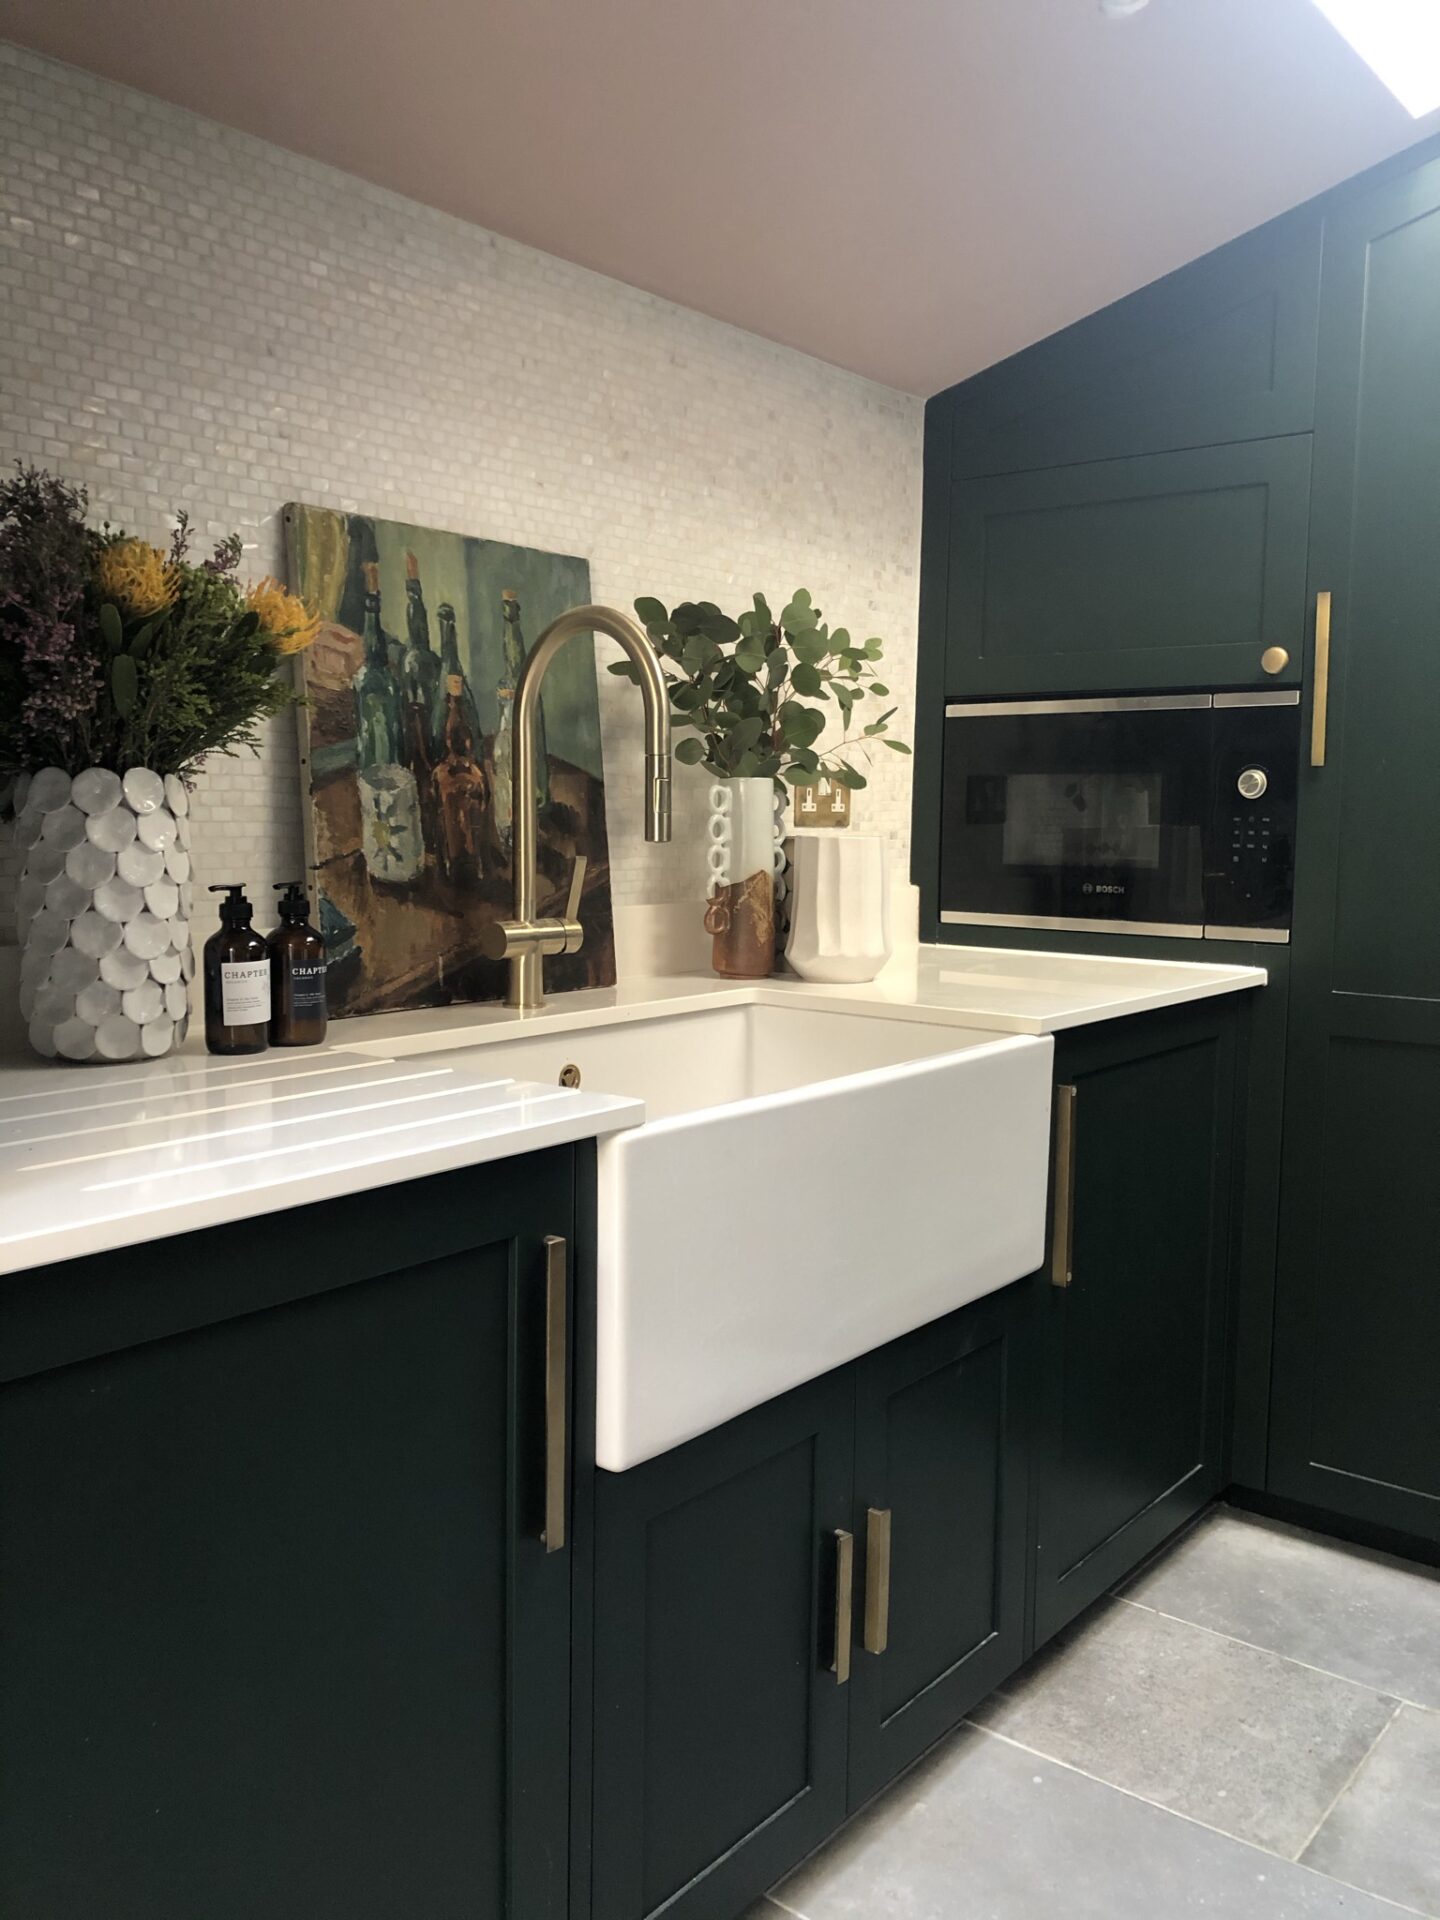
3. I like big sinks and I cannot lie.
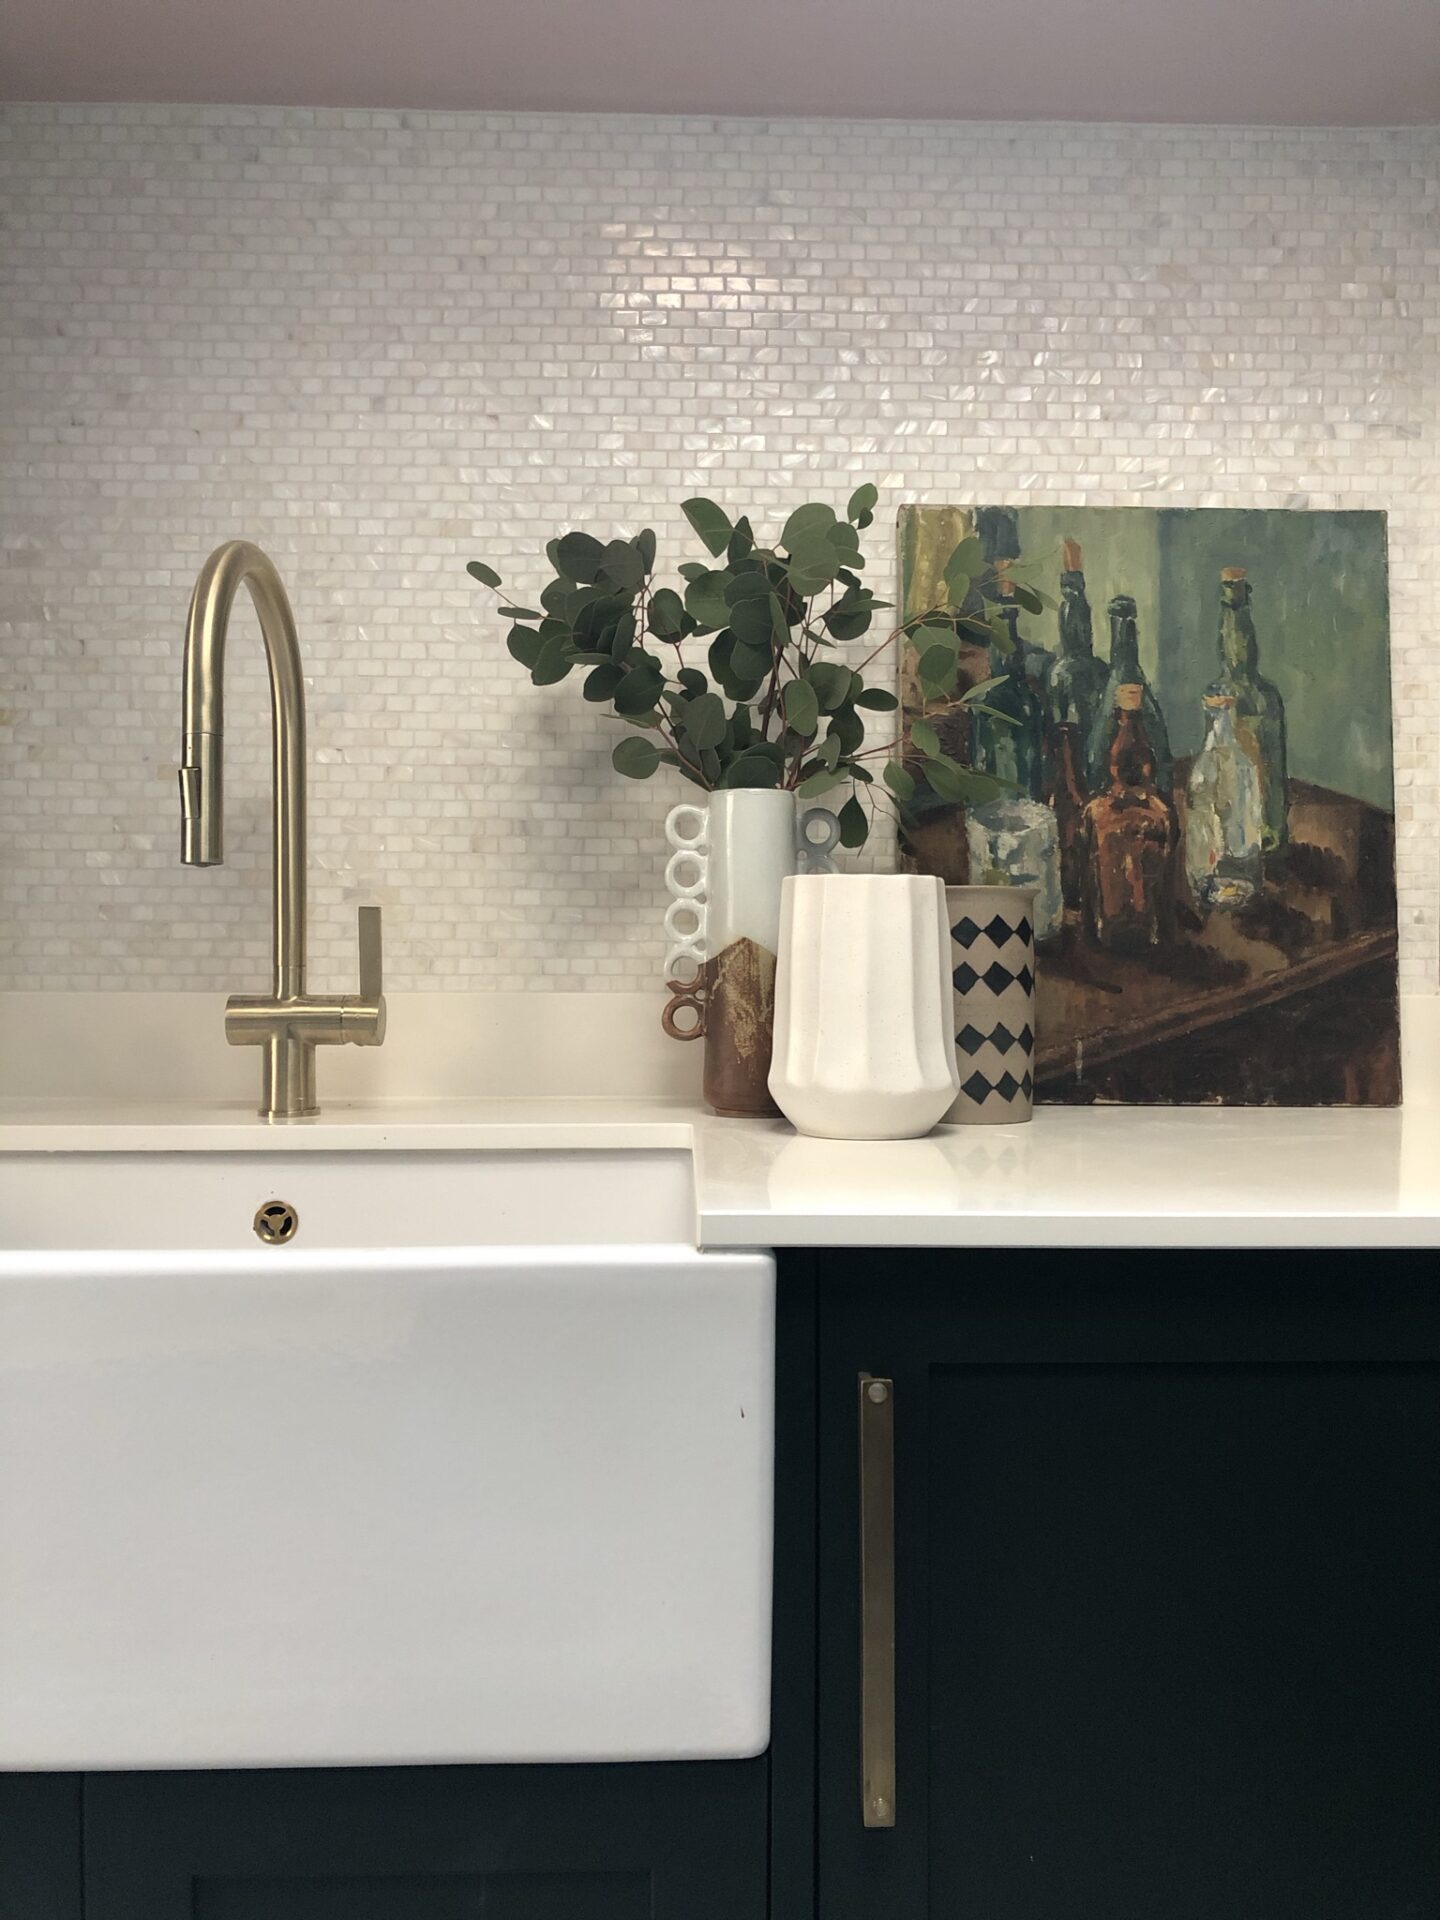
I got my massive sink. I’d always wanted a classic butler’s sink, and having gone for a gold metal one in the kitchen, this was the perfect spot. It’s huuuuuge. Great for handwashing, dog bathing and soaking oven trays, amongst other things. I went for a plain, white quartz work surface in here, perfectly lovely, practical, stainproof and cheaper than the ceramic I’d used in the kitchen – I’d gone all out in there, but I had to keep the budget down here. The wall tiles are shimmery mother of pearl mosaics from Fired Earth (I didn’t say I was consistent with the budget), and the brass mixer tap was from Tap Warehouse (again, much cheaper than the taps I used in the kitchen, but lovely, with a pull out hose – always a novelty to me, always a potential water fight to my kids).
4. The washing machine and tumble drier, tucked out of sight.
The tumble drier is in the cupboard to the left of the sink, the washing machine to the right. The under-sink cupboard is where all the cleaning products live. I can’t tell you how nice it is to shut the door on all of these things.
5. Freezer and flooring. All the ‘f’s.
The freezer ended up 3/4 height, as opposed to the full height I wanted, because we ended up lowering the roof pitch a bit for reasons involving a moaning neighbour, which I will not go into here, because DON’T GET ME STARTED. There it is on the left, and there’s another neat little cupboard above, where I keep my tool kit and extension leads, should you be interested.
I got my underfloor heating and this is the space in which it actually works best – it’s good with the engineered wood in the kitchen, but noticeably toastier with the tiles in here. They’re a matt, ceramic tile (Chateau Cheverny from Claybrook), which looks very convincingly like stone, with grey grout, and they’re easy to clean. This is the entrance to the house for the muddy of boot. Clean feet only at the front door. That’s the theory, anyway, I’ve spoken previously about my brilliant plans and the inability of my family to stick to them.
Do I love it?
Yes, I love it. It makes me very happy indeed, which is a good job as I spend a lot of time in there doing endless laundry. In my humble opinion, we couldn’t have made any more of the space available to us. If I’d had a bit more, I’d have included a built in clothes airer, either wall-mounted or on a ceiling pulley (pleasingly Victorian), which would have been handy, but I think I can let that one slide, all things considered.
P.S. The cabinets are Obsidian Green by Little Greene Paint Co, and the walls and ceiling are Light Peachblossom, by the same company, in case you wondered.
What a gorgeous transformation, Really Beautiful. loved it Great Work!!
Author
Thank you so much 🙂